Introduction
A blood pressure cuff is a device used to measure the pressure of the blood flowing in the arteries. It is an important tool for monitoring a person’s health and well-being, as changes in blood pressure can be indicative of various medical conditions. This article will explore the anatomy of a blood pressure cuff, explain how it works and provide a step-by-step guide on how to use one.
Exploring the Anatomy of a Blood Pressure Cuff
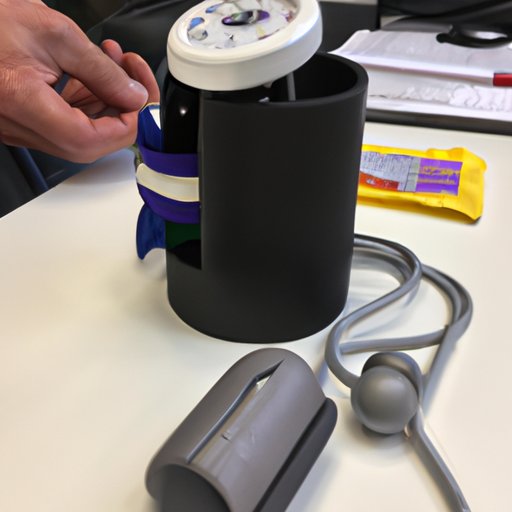
The anatomy of a blood pressure cuff consists of four components: a bladder, an inflatable bulb, a pressure gauge and a release valve. The bladder is the most visible component, as it is made of vinyl or rubber and wraps around the arm. The inflatable bulb is connected to the bladder by a tube and is used to pump air into the cuff. The pressure gauge is located on the outside of the cuff and measures the pressure within the bladder. Finally, the release valve is located at the end of the tube and is used to deflate the cuff once the reading has been taken.
Understanding How a Blood Pressure Cuff Works
The process of using a blood pressure cuff is based on the principle of oscillometric measurement. Oscillometric measurement occurs when the pressure in the cuff is increased and then decreased during the measurement process. As the pressure increases, the artery walls become compressed and the flow of blood is restricted. When the pressure is released, the artery walls expand and pulses of blood are sent through the artery. These pulses are detected by the pressure gauge and the results are displayed on the dial.
Describing the Process: How a Blood Pressure Cuff Works
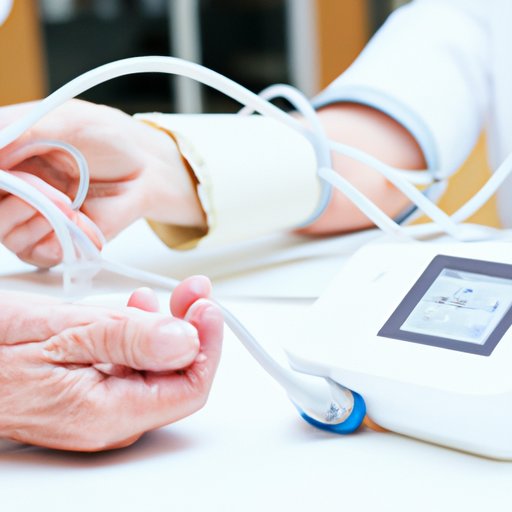
When taking a blood pressure measurement, the first step is to inflate the cuff. This is done by squeezing the inflatable bulb until the desired pressure is reached. Once the pressure has been set, the patient must remain still while the pressure is being measured. As the pressure is being released, the pressure gauge will detect the pulses of blood and display the readings on the dial. After the reading has been taken, the cuff should be deflated by pressing the release valve.
A Step-by-Step Guide on How to Use a Blood Pressure Cuff
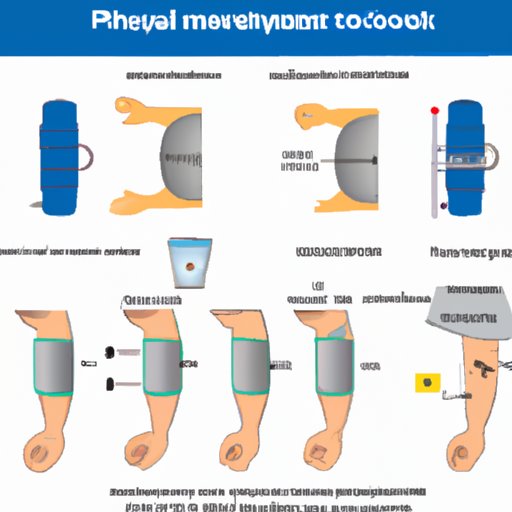
Taking a blood pressure measurement requires following several steps:
- Preparing the Patient: The patient should sit with their back supported and their arm resting on a flat surface. They should remain still and relaxed during the process.
- Placing the Cuff: The cuff should be placed around the upper arm, approximately 2 inches above the elbow. It should be secured firmly but not too tightly.
- Taking the Measurement: Once the cuff is in place, the inflatable bulb should be squeezed until the pressure gauge reaches the desired level. The patient should remain still while the pressure is being measured.
- Recording the Results: After the pressure has been released, the pressure gauge will display the readings on the dial. The systolic (top) number and diastolic (bottom) number should be recorded for future reference.
Conclusion
This article has provided an overview of the anatomy of a blood pressure cuff, how it works and a step-by-step guide on how to use one. Knowing how to use a blood pressure cuff correctly can be beneficial for both medical professionals and individuals looking to monitor their own health. Understanding the science behind how a blood pressure cuff works can help make the process more efficient and accurate.
(Note: Is this article not meeting your expectations? Do you have knowledge or insights to share? Unlock new opportunities and expand your reach by joining our authors team. Click Registration to join us and share your expertise with our readers.)