Introduction
Look-up tables (LUTs) are essential tools for photographers who want to take their photos to the next level. With the help of LUTs, photographers can quickly and easily adjust the color, contrast, and exposure of their photos with just a few clicks. But what exactly are LUTs and how can they be used to make your photos look their best? Read on to learn more about LUTs and how you can use them to get the most out of your photos.
Exploring the Benefits of Using LUTs in Photography
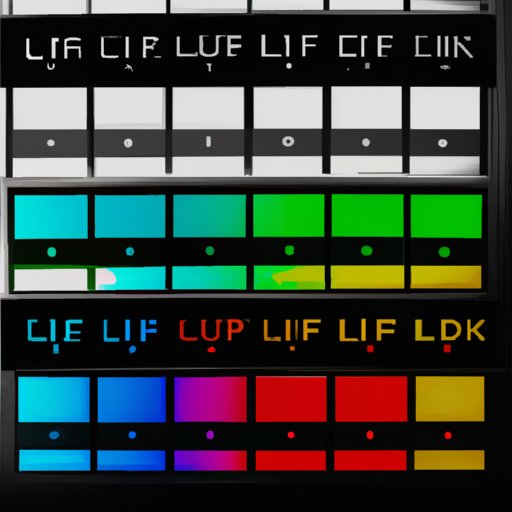
LUTs are essentially pre-set color corrections that can be applied to digital images. By applying a LUT to an image, photographers can instantly adjust the color, contrast, and exposure of the image without having to manually adjust each individual setting. This makes it easy to achieve a consistent look across multiple photos, as well as to create unique looks that would otherwise be difficult to achieve.
Creating Unique Looks with LUTs in Photography
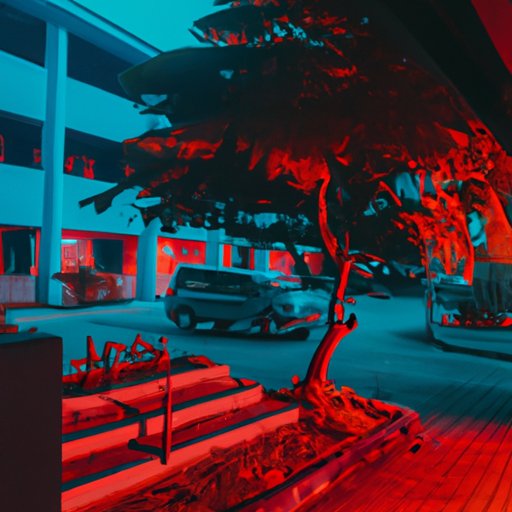
One of the biggest advantages of using LUTs is the ability to create unique looks that would otherwise be difficult or impossible to achieve. For example, many photographers use LUTs to give their photos a vintage or film-like look. Other photographers use LUTs to create dramatic effects, such as desaturation, split toning, and other creative looks. The possibilities are virtually endless, making LUTs a great way to add a unique touch to your photos.
Enhancing Color and Contrast with LUTs
LUTs can also be used to enhance the color and contrast of an image. By applying a LUT, photographers can quickly and easily adjust the colors of an image to make them more vibrant and lifelike. They can also adjust the contrast of an image to make the shadows and highlights more pronounced, creating a more dynamic image.
Balancing Exposure with LUTs
Finally, LUTs can be used to balance the exposure of an image. By using a LUT, photographers can quickly and easily adjust the brightness, contrast, and saturation of an image to make sure the exposure is balanced and the colors are accurate. This can be especially helpful when shooting in tricky lighting situations, such as when shooting in direct sunlight or when shooting indoors with mixed lighting.
Understanding How to Apply LUTs in Photography
Now that you understand the benefits of using LUTs in photography, let’s take a look at how to apply them. Applying a LUT is relatively straightforward and can be done in a few simple steps.
Step-by-step Guide to Applying LUTs
1. Open your image in your photo editing software and make any desired adjustments, such as cropping, straightening, or basic color correction.
2. Select the LUT you wish to apply to your image and drag it onto the image.
3. Adjust the intensity of the LUT to get the desired effect.
4. Save your image with the applied LUT.
Tips for Getting the Most Out of Your LUTs
When applying LUTs, it’s important to remember that less is often more. While it can be tempting to go overboard with the effects, it’s often best to keep the intensity of the LUTs subtle. Additionally, be sure to make any necessary adjustments to the image before applying the LUT, as this will ensure that the LUT is applied correctly.
A Guide to Choosing the Right LUTs for Your Photos
Now that you know how to apply LUTs, it’s time to choose the right LUTs for your photos. When selecting a LUT, there are a few things to consider.
Considerations When Choosing a LUT
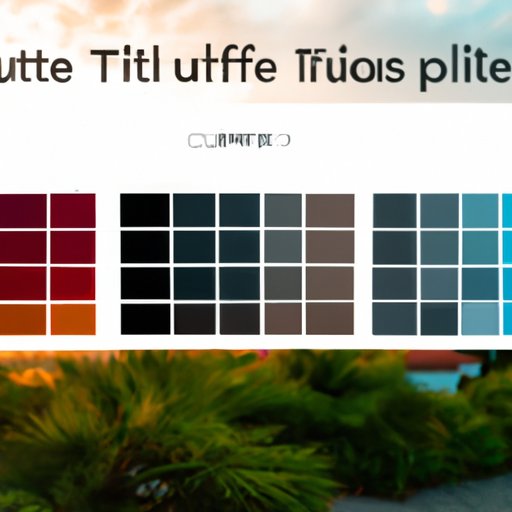
First, think about the look you’re trying to achieve. Do you want to create a vintage look? A cinematic look? Or something else entirely? Knowing the look you’re going for will help you narrow down your choices and make it easier to find the right LUT for your needs.
Second, consider the type of photo you’re working with. Different LUTs work better with different types of photos, so it’s important to choose a LUT that will work with the type of photo you’re editing. For example, some LUTs are better suited for landscape photos, while others are better suited for portraits.
Selecting the Best LUT for Your Needs
Once you’ve narrowed down your choices, it’s time to select the best LUT for your needs. Start by previewing the LUTs to get an idea of how they will look on your photo. If possible, try out a few different LUTs to see which one works best. You may also want to experiment with adjusting the intensity of the LUT to get the desired effect.
Conclusion
LUTs are powerful tools for photographers looking to enhance their images. With the help of LUTs, photographers can quickly and easily adjust the color, contrast, and exposure of their photos with just a few clicks. LUTs can also be used to create unique looks, such as vintage or film-like looks, as well as to balance the exposure of an image. When selecting a LUT, it’s important to consider the look you’re trying to achieve and the type of photo you’re editing. With the right LUT, you can take your photos to the next level.
(Note: Is this article not meeting your expectations? Do you have knowledge or insights to share? Unlock new opportunities and expand your reach by joining our authors team. Click Registration to join us and share your expertise with our readers.)