Introduction
Photography is an art form that relies heavily on the use of light. As a photographer, you need to understand how to manipulate light to achieve the desired effect in your photos. One of the best tools to help you do this is a reflector. A reflector is a device used to redirect or “bounce” light back onto the subject of your photograph. In this article, we will explore the basics of using a reflector in photography, including how to choose the right reflector for your needs, tips for positioning and angling the reflector, and ways to use a reflector to enhance your outdoor and portrait photography.

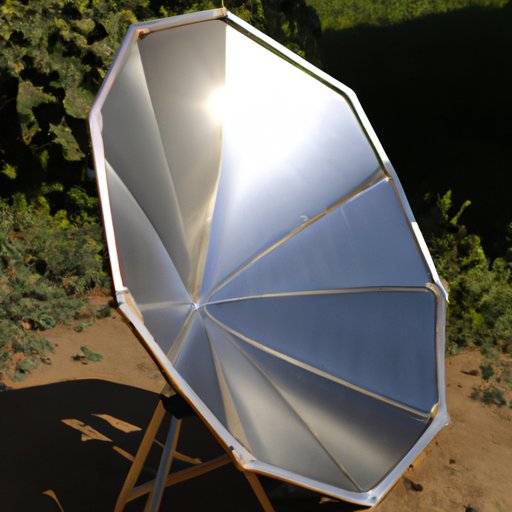
How to Choose the Right Reflector for Your Photography
When it comes to choosing the right reflector for your photography, there are several factors to consider. First, you need to decide what size reflector you need. Reflectors come in a variety of sizes, from small handheld models to large studio-sized versions. The size of the reflector you choose should depend on the type of photography you’re doing and the size of the subject you’re shooting.
In addition to size, you should also consider the type of reflector you want to use. There are many different types of reflectors available, such as silver, gold, white, and black. Each type has its own unique properties and can be used to achieve different effects in your photographs. For example, silver reflectors are great for creating a bright, crisp look, while gold reflectors can be used to add warmth and depth to your images.

Using a Reflector to Create Perfect Lighting in Your Photos
Once you have chosen the right reflector for your needs, it’s time to start using it. When positioning your reflector, you should always keep in mind the angle of the light source. For example, if you are using natural light, the sun should be at your back so that the light reflects off the reflector and onto your subject. If you are using artificial light, the light source should be angled so that it reflects off the reflector and onto your subject.
It’s also important to adjust the angle of the reflector in order to get the desired effect. For example, if you want your subject to appear brighter in the photo, you should angle the reflector so that it reflects more light onto the subject. On the other hand, if you want to soften the light, you should angle the reflector away from the subject.

Mastering the Art of Reflectors: Tips and Techniques
Once you’ve mastered the basics of using a reflector, it’s time to start exploring the various ways you can use it to enhance your photos. For example, you can use a reflector to add depth and contrast to your images by positioning it at an angle so that it reflects light onto the background of your shot. You can also use a reflector to fill in shadows and brighten up outdoor shots by placing it opposite the light source.
In addition to these basic techniques, there are other creative ways to use a reflector in photography. For example, you can use a reflector to create dramatic lighting effects by positioning it behind your subject and angling it to reflect light onto the front of the subject. You can also use a reflector to create a soft, diffused light by positioning it close to your subject and angling it away from the light source.
Using a Reflector to Enhance Your Outdoor Photography
Using a reflector outdoors can be a great way to capture natural light and enhance your photographs. The key to using a reflector outdoors is to position it so that it reflects the available light onto your subject. This can be done by placing the reflector opposite the light source, such as the sun, or by angling the reflector to direct the light onto your subject.
Another great way to use a reflector outdoors is to fill in shadows and brighten up dark areas. To do this, simply place the reflector in an area where it can bounce light onto the shadows. This can be done by angling the reflector towards the shadows or by positioning it in an area where it can reflect light onto the shadows.
Enhancing Portraits with Reflectors
Portrait photography is one of the most popular uses for a reflector. Reflectors can be used to soften and diffuse light for a more flattering effect in portrait shots. To do this, simply position the reflector close to your subject and angle it away from the light source. This will cause the light to reflect off the reflector and onto your subject, resulting in a softer, more even lighting effect.
You can also use a reflector to create dramatic lighting effects in your portraits. To do this, place the reflector behind your subject and angle it so that it reflects light onto the front of the subject. This will create a dramatic lighting effect that can be used to enhance your portrait photography.
Understanding the Different Types of Reflectors for Photography
As mentioned earlier, there are many different types of reflectors available for photography. Each type has its own unique properties and can be used to achieve different effects in your photos. Silver reflectors are great for creating a bright, crisp look, while gold reflectors can be used to add warmth and depth. White reflectors can be used to soften and diffuse light, while black reflectors can be used to absorb light and create shadows.
No matter which type of reflector you choose, understanding the different types of reflectors available is essential for mastering the art of using a reflector in photography. By understanding the different types of reflectors available, you can choose the one that best suits your needs and create stunning photographs with ease.
Conclusion
Using a reflector in photography can be a great way to create perfect lighting in your photos. By understanding the basics of using a reflector, such as how to choose the right reflector for your needs, how to position and angle the reflector, and how to use a reflector to enhance your outdoor and portrait photography, you can master the art of using a reflector in photography and create stunning photos with ease.
No matter which type of reflector you choose, understanding the different types of reflectors available is essential for mastering the art of using a reflector in photography. With the right knowledge and practice, you can use a reflector to create beautiful, professional-looking photos with ease.
(Note: Is this article not meeting your expectations? Do you have knowledge or insights to share? Unlock new opportunities and expand your reach by joining our authors team. Click Registration to join us and share your expertise with our readers.)