Introduction
Recording music and video together can be a complex process, but it is possible to achieve great results with the right setup. In this article, we’ll explore the steps involved in recording music and video simultaneously and discuss the advantages of each solution. With the help of this guide, you’ll be able to create high-quality recordings quickly and easily.
Use a Digital Audio Workstation to Record Music and Video Simultaneously
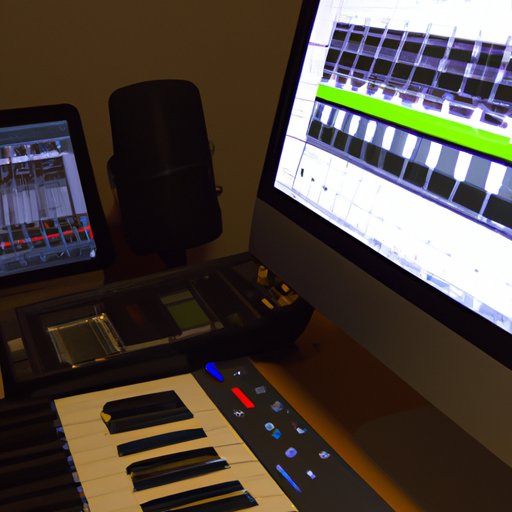
A digital audio workstation (DAW) is a type of software used for recording and editing audio and MIDI data. It provides a complete set of tools for producing professional-quality recordings and can be used to record both music and video at the same time.
Using a DAW has several advantages. First, it allows for simultaneous recording of multiple tracks, which makes it easier to keep everything in sync. Additionally, DAWs provide a wide range of features, such as EQ, compression, and reverb, that can be used to shape the sound of your recordings. Finally, they are relatively inexpensive and easy to use, making them an ideal choice for beginners.
Step-by-Step Instructions
The first step is to set up the DAW and connect the necessary hardware. You’ll need an audio interface (or sound card), a microphone, and a pair of headphones. Once everything is connected and the software is installed, you’re ready to begin recording.
Next, create a new project in the DAW and configure the settings. This includes setting the sample rate, bit depth, input/output routing, and other parameters. Once the settings are adjusted, you can start recording. Make sure to adjust the levels on the audio interface and the microphone before you start recording.
When you’re ready to record video, open the video capturing application and configure the settings. You can then hit “record” and the video will be recorded along with the audio. As you record, make sure to monitor the levels and adjust them as needed. When you’re finished recording, save the project and export the audio and video files.
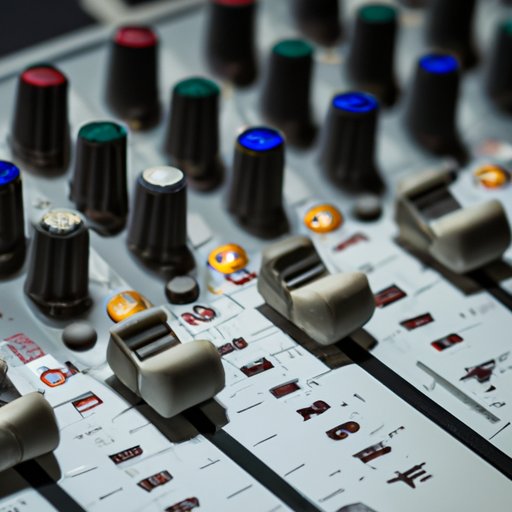
Utilize a Multi-Track Recording Software
Multi-track recording software is another option for recording music and video simultaneously. This type of software is designed to record multiple tracks at once, allowing you to create complex arrangements with ease. It also allows you to mix and edit the audio after it has been recorded, giving you greater control over the final result.
Advantages of Using Multi-Track Recording Software
One of the main advantages of using multi-track recording software is that it allows you to record multiple tracks simultaneously, eliminating the need for multiple takes. Additionally, it provides a wide range of features, such as EQ, compression, and reverb, that can be used to shape the sound of your recordings. Finally, it is relatively inexpensive and easy to use, making it an ideal choice for beginners.
Step-by-Step Instructions
To use multi-track recording software, you’ll need to connect the necessary hardware, such as an audio interface, microphone, and headphones. Once everything is connected and the software is installed, you’re ready to start recording.
Create a new project in the software and configure the settings. This includes setting the sample rate, bit depth, input/output routing, and other parameters. When you’re ready to record, hit “record” and the audio will begin recording. As you record, make sure to monitor the levels and adjust them as needed. When you’re finished recording, save the project and export the audio files.
When you’re ready to record video, open the video capturing application and configure the settings. You can then hit “record” and the video will be recorded along with the audio. Again, make sure to monitor the levels and adjust them as needed. When you’re finished recording, save the project and export the video files.
Employ a Video Capture Device
A video capture device is another useful tool for recording music and video simultaneously. This type of device allows you to capture video from external sources, such as a camcorder or VCR, and record it directly onto your computer. It also allows you to export the video in various formats, such as AVI, MP4, and MOV.
Advantages of Using a Video Capture Device
Using a video capture device has several advantages. First, it allows you to capture video from external sources, such as a camcorder or VCR. Additionally, it provides a wide range of features, such as color correction, motion tracking, and chroma keying, that can be used to enhance the quality of your recordings. Finally, it is relatively inexpensive and easy to use, making it an ideal choice for beginners.
Step-by-Step Instructions
To use a video capture device, you’ll need to connect the necessary hardware, such as an audio interface, microphone, and headphones. Once everything is connected and the software is installed, you’re ready to start recording.
Create a new project in the software and configure the settings. This includes setting the sample rate, bit depth, input/output routing, and other parameters. When you’re ready to record, hit “record” and the audio and video will begin recording. As you record, make sure to monitor the levels and adjust them as needed. When you’re finished recording, save the project and export the audio and video files.
Leverage an Audio Interface
An audio interface is a type of hardware device that connects a microphone or instrument to a computer. It provides a range of features, such as EQ, compression, and reverb, that can be used to shape the sound of your recordings. Additionally, it allows you to record multiple tracks simultaneously, making it easier to keep everything in sync.
Advantages of Using an Audio Interface
Using an audio interface has several advantages. First, it allows you to record multiple tracks simultaneously, eliminating the need for multiple takes. Additionally, it provides a wide range of features, such as EQ, compression, and reverb, that can be used to shape the sound of your recordings. Finally, it is relatively inexpensive and easy to use, making it an ideal choice for beginners.
Step-by-Step Instructions
To use an audio interface, you’ll need to connect the necessary hardware, such as a microphone, headphones, and a pair of speakers. Once everything is connected and the software is installed, you’re ready to start recording.
Create a new project in the software and configure the settings. This includes setting the sample rate, bit depth, input/output routing, and other parameters. When you’re ready to record, hit “record” and the audio will begin recording. As you record, make sure to monitor the levels and adjust them as needed. When you’re finished recording, save the project and export the audio files.
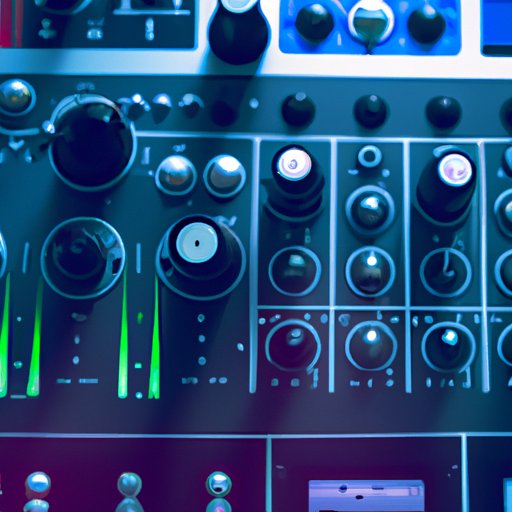
Integrate a Mixer into the Setup
A mixer is a type of hardware device that combines multiple audio signals into one signal. It can be used to blend different instruments and vocals into a single track, as well as to adjust the levels of each track. Additionally, it provides a wide range of features, such as EQ, compression, and reverb, that can be used to shape the sound of your recordings.
Advantages of Using a Mixer
Using a mixer has several advantages. First, it allows you to blend multiple instruments and vocals into a single track. Additionally, it provides a wide range of features, such as EQ, compression, and reverb, that can be used to shape the sound of your recordings. Finally, it is relatively inexpensive and easy to use, making it an ideal choice for beginners.
Step-by-Step Instructions
To use a mixer, you’ll need to connect the necessary hardware, such as an audio interface, microphone, and headphones. Once everything is connected and the software is installed, you’re ready to start recording.
Create a new project in the software and configure the settings. This includes setting the sample rate, bit depth, input/output routing, and other parameters. When you’re ready to record, hit “record” and the audio will begin recording. As you record, make sure to adjust the levels on the mixer and the audio interface. When you’re finished recording, save the project and export the audio files.
Set Up Microphones Appropriately
Properly setting up microphones is essential for achieving good quality recordings. Different types of microphones require different setups, so make sure to read the instructions before setting up the microphones. Additionally, make sure to position the microphones correctly and adjust the levels appropriately. This will ensure that the sound is captured accurately and faithfully.
Advantages of Setting Up Microphones Properly
Setting up microphones properly has several advantages. First, it ensures that the sound is captured accurately and faithfully. Additionally, it reduces the risk of feedback and other unwanted noise. Finally, it allows you to achieve a balanced and natural sounding recording.
Step-by-Step Instructions
When setting up microphones, the first step is to determine the type of microphone you’ll be using. Different types of microphones require different setups, so make sure to read the instructions before setting up the microphones.
Once you’ve determined the type of microphone, the next step is to position the microphones correctly. Make sure to place the microphones at the correct distance from the sound source and angle them appropriately. Additionally, make sure to adjust the levels on the audio interface and the microphone before you start recording.

Utilize Filters and Effects for Quality Control
Filters and effects can be used to shape the sound of your recordings and improve their overall quality. For example, EQ can be used to adjust the frequency balance of a track, while compression can be used to even out the dynamics. Additionally, reverb and delay can be used to create a sense of space and depth.
Advantages of Using Filters and Effects
Using filters and effects has several advantages. First, it allows you to shape the sound of your recordings and improve their overall quality. Additionally, it gives you greater control over the final result. Finally, it is relatively inexpensive and easy to use, making it an ideal choice for beginners.
Step-by-Step Instructions
To use filters and effects, you’ll need to connect the necessary hardware, such as an audio interface, microphone, and headphones. Once everything is connected and the software is installed, you’re ready to start recording.
Create a new project in the software and configure the settings. This includes setting the sample rate, bit depth, input/output routing, and other parameters. When you’re ready to record, hit “record” and the audio will begin recording. As you record, make sure to adjust the levels and apply the appropriate filters and effects. When you’re finished recording, save the project and export the audio files.
Conclusion
Recording music and video together can be a complex process, but with the right setup it is possible to achieve great results. In this article, we explored the steps involved in recording music and video simultaneously and discussed the advantages of each solution. With the help of this guide, you’ll be able to create high-quality recordings quickly and easily.
Summary of Solutions
In this article, we explored several solutions for recording music and video simultaneously. These included using a digital audio workstation, a multi-track recording software, a video capture device, an audio interface, a mixer, and setting up microphones properly. Additionally, we discussed the advantages of using filters and effects to shape the sound of your recordings.
Troubleshooting Tips
If you’re having trouble recording music and video simultaneously, here are a few troubleshooting tips:
- Make sure all the necessary hardware is connected and the software is installed.
- Adjust the levels on the audio interface and the microphone before you start recording.
- Check the settings in the recording software and make sure they are configured correctly.
- Position the microphones correctly and adjust the levels appropriately.
- Apply the appropriate filters and effects to shape the sound of your recordings.
With the help of these tips, you should be able to troubleshoot any issues you may have when recording music and video simultaneously.
(Note: Is this article not meeting your expectations? Do you have knowledge or insights to share? Unlock new opportunities and expand your reach by joining our authors team. Click Registration to join us and share your expertise with our readers.)