Introduction
Robotic arms have become increasingly popular in recent years due to their ability to automate certain tasks and increase efficiency. A robotic arm is a type of mechanical device that can be programmed to move and manipulate objects in three-dimensional space. They are often used in industrial settings to perform repetitive tasks with precision and accuracy. In this article, we will explore how to make a robotic arm and the various components required for its construction.

Definition of a Robotic Arm
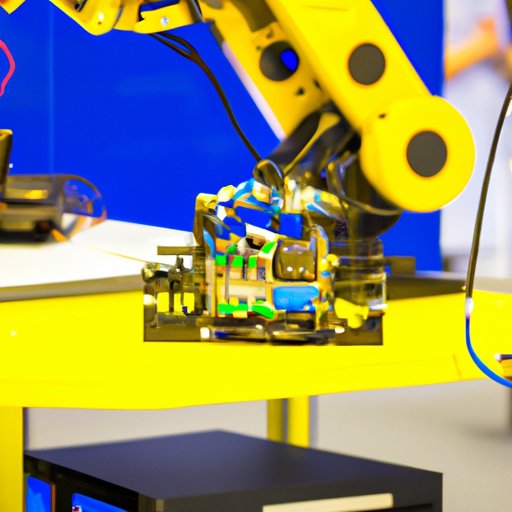
Robotic arms are made up of several components including motors, sensors, and electronics. The arm consists of a series of joints, each of which can rotate or extend in order to give the robot the ability to move and manipulate objects in three-dimensional space. The arm also contains an end effector, which is a tool designed to hold, twist, turn, cut, or grip objects. The end effector can be fitted with different tools depending on the task it needs to complete.
Overview of the Benefits of Building a Robotic Arm
Robotic arms offer many advantages over traditional manual labor. For example, they are able to work faster and more accurately than humans, meaning that tasks can be completed in less time. They also require less maintenance than human workers, as they do not need to take breaks or rest. Additionally, robotic arms can be programmed to perform complex tasks that would be difficult or impossible for humans to do. Finally, robotic arms can help reduce workplace accidents, as they are able to handle dangerous or hazardous tasks without putting workers at risk.
Step-by-Step Guide to Building a Robotic Arm
Building a robotic arm requires a lot of time, patience, and technical knowledge. This section provides a step-by-step guide on how to build a robotic arm from scratch.
Gathering Supplies and Tools
The first step in building a robotic arm is to gather the necessary supplies and tools. This includes motors, sensors, electronics, screws, nuts, bolts, wires, and other hardware. It is important to choose the right components for the job, as the performance of the arm will depend on the quality of these parts. Additionally, it is important to ensure that all of the components are compatible with each other.
Assembling the Base and Arms
Once all of the components have been gathered, the next step is to assemble the base and arms of the robotic arm. This involves attaching the motor mounts, arm links, and other components to the base. This process can be complicated, so it is important to follow the instructions carefully and take time to ensure that everything is properly aligned.
Connecting Motors, Sensors and Electronics
The next step is to connect the motors, sensors, and electronics to the arm. This involves soldering wires and connecting the components together according to the instructions provided. It is important to ensure that the connections are secure and that the wires are correctly insulated. Additionally, it is important to check that all of the components are properly wired before powering up the arm.
Programming the Arm
Once the arm has been assembled and connected, the next step is to program it. This involves writing code to control the motors and sensors, as well as setting up the software environment. Additionally, it is important to test the arm’s movement and adjust the code accordingly.
Exploring the Various Components of a Robotic Arm
A robotic arm is composed of several components, each of which plays an important role in its operation. This section explores the various components that make up a robotic arm.
Motors
Motors are responsible for providing the power to move the robotic arm. They come in a variety of shapes and sizes, and the type of motor used will depend on the size and weight of the arm. Motors can be powered by electricity, batteries, or compressed air.
Sensors
Sensors are used to detect the position of the arm and the objects it is manipulating. They can be used to measure distance, velocity, acceleration, and other parameters. Common types of sensors include infrared and laser rangefinders, force sensors, and tactile sensors.
Electronics
The electronic components of a robotic arm include microcontrollers, circuit boards, and other components. These components are responsible for controlling the motors and sensors, as well as processing data from the sensors. Additionally, they can be used to store programs or data.
Programming a Robotic Arm for Automation
Robotic arms can be programmed to perform automated tasks, such as picking up and placing objects. This section explores how to program a robotic arm for automation.
Setting Up the Software Environment
The first step in programming a robotic arm is to set up the software environment. This involves installing the necessary software, such as a programming language, development environment, and libraries. Additionally, it is important to ensure that the software is compatible with the hardware.
Writing Code to Control the Motors
Once the software environment is set up, the next step is to write code to control the motors. This involves writing code to move the motors in a specific pattern or sequence. Additionally, it is important to ensure that the code is optimized for speed and accuracy.
Testing the Arm’s Movement
Once the code has been written, the next step is to test the arm’s movement. This involves connecting the arm to the computer and running the code to see if the arm moves as expected. If the arm does not move as expected, it is important to adjust the code and test again until the desired result is achieved.
Using Artificial Intelligence to Create a Robotic Arm
Robotic arms can also be programmed to use artificial intelligence (AI) algorithms in order to complete tasks. This section explores how to use AI to create a robotic arm.
Understanding Machine Learning Algorithms
The first step in using AI to create a robotic arm is to understand machine learning algorithms. These algorithms can be used to train the arm to recognize patterns and respond to feedback. Additionally, they can be used to improve the accuracy and speed of the arm’s movements.
Training the Arm with Sample Data
Once the algorithms have been understood, the next step is to train the arm with sample data. This involves providing the arm with examples of the tasks it needs to complete and rewarding it when it performs the tasks correctly. Over time, the arm will learn to recognize patterns and respond to feedback.
Evaluating the Performance of the Arm
Finally, it is important to evaluate the performance of the arm. This can be done by testing the arm’s movements and comparing them to the expected results. Additionally, it is important to monitor the arm’s accuracy and speed over time to ensure that it is performing as expected.
Designing a Robotic Arm from Scratch
Designing a robotic arm from scratch requires a lot of planning and research. This section explores the steps involved in designing a robotic arm from scratch.
Choosing Materials
The first step in designing a robotic arm is to choose the materials. This includes selecting the type of metal, plastic, or composite material to use for the arm and choosing the right motors and sensors for the job. Additionally, it is important to consider the weight and strength of the materials in order to ensure that the arm is able to support the load it will be carrying.
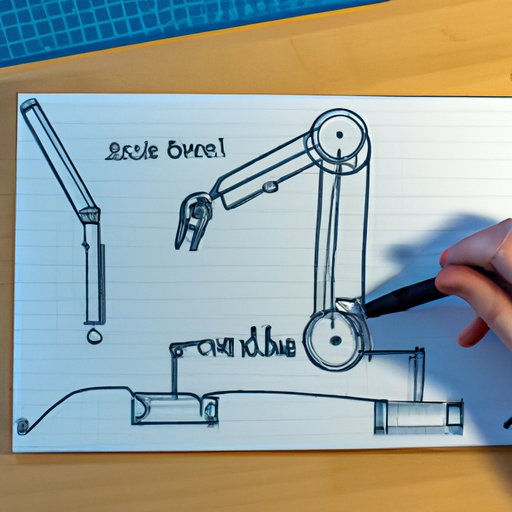
Crafting the Design
The next step is to craft the design of the robotic arm. This involves creating a 3D model of the arm and determining the dimensions, angles, and other details. Additionally, it is important to consider the range of motion and the weight of the arm in order to ensure that it will be able to perform the tasks it is intended to do.
Building the Arm
The final step is to build the arm. This involves cutting and shaping the materials, assembling the components, and connecting the motors and sensors. Additionally, it is important to test the arm after it has been built in order to ensure that it functions correctly.
Testing and Troubleshooting a Robotic Arm
Once the robotic arm has been built, the next step is to test and troubleshoot it. This section explores the steps involved in testing and troubleshooting a robotic arm.
Testing the Arm’s Functionality
The first step in testing the arm is to connect it to a computer and run a program to test its functionality. This involves testing the arm’s range of motion, speed, accuracy, and other parameters. Additionally, it is important to check that the arm is responding correctly to commands.
Identifying Common Problems
If the arm is not functioning as expected, the next step is to identify the problem. This can involve checking the wiring, testing the motors, or examining the code. Additionally, it is important to read any error messages that appear in order to determine the cause of the problem.
Solving Problems with the Arm
Once the problem has been identified, the next step is to solve it. This can involve adjusting the code, replacing components, or recalibrating the arm. Additionally, it is important to test the arm after making any changes in order to ensure that the problem has been resolved.
Conclusion
Building a robotic arm is a complex task that requires a lot of time, patience, and technical knowledge. In this article, we explored the various steps involved in building a robotic arm from scratch, including gathering supplies and tools, assembling the base and arms, connecting motors, sensors and electronics, programming the arm, exploring components of a robotic arm, using artificial intelligence to create a robotic arm, designing a robotic arm from scratch, and testing and troubleshooting a robotic arm. By following the steps outlined in this article, you should be able to successfully build your own robotic arm.
(Note: Is this article not meeting your expectations? Do you have knowledge or insights to share? Unlock new opportunities and expand your reach by joining our authors team. Click Registration to join us and share your expertise with our readers.)