Introduction
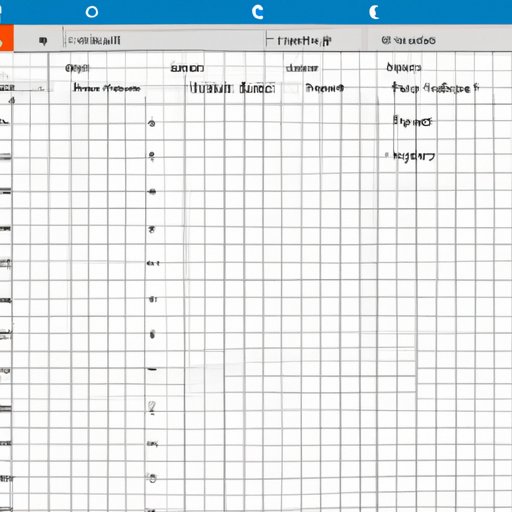
Expanding cells to fit text is a common task when working with data in spreadsheets. It’s important to understand how to adjust the size of cells so that all the information is visible at once, without having to scroll or manually resize each cell. In this article, we’ll explore how to use tables, AutoFit, merging cells, line breaks, and wrapping text to expand cells to fit text.

Using a Table to Expand Cells to Fit Text
One way to expand cells to fit text is by using a table. A table is a grid of cells that can be used to organize data. You can create a table in Excel, Google Sheets, or any other spreadsheet program. Here are the steps for creating a table:
Creating a Table
To create a table, select the range of cells you want to include in the table. Then click on the Insert tab, and select Table from the ribbon menu. This will bring up a dialog box where you can choose the number of rows and columns you want in the table.
Adjusting Column Widths and Row Heights
Once the table has been created, you can adjust the widths of the columns and heights of the rows to make sure all the text fits. To do this, move your cursor over the line between two column headers until it turns into a double-headed arrow. Then click and drag the line to the left or right to adjust the width of the column. To adjust the height of the rows, move your cursor over the line between two row headers until it turns into a double-headed arrow. Then click and drag the line up or down to adjust the height of the row.
Merging Cells
If you need to combine multiple cells into one larger cell, you can merge them. To do this, select the cells you want to merge. Then go to the Home tab and select Merge & Center from the Alignment group. This will combine the selected cells into one larger cell.
Adjusting Cell Width and Height in Excel
In addition to using tables, you can also adjust the width and height of individual cells in Excel. Here are the steps for adjusting the width and height of cells:
Selecting the Cell or Range
First, select the cell or range of cells you want to adjust. To select a single cell, just click on it. To select a range of cells, click on the first cell and then drag your mouse over the other cells you want to select.
Changing the Width or Height
Once the cells are selected, go to the Home tab and select Format from the Cells group. Then select either Row Height or Column Width from the drop-down menu. This will open a dialog box where you can enter the desired width or height for the cells. Once you’ve entered the width or height, click OK to apply the changes.
Using the AutoFit Feature in Excel
Excel also has a feature called AutoFit that can automatically adjust the width and height of cells to fit the text. Here are the steps for using the AutoFit feature:
Accessing the AutoFit Feature
To access the AutoFit feature, select the cells you want to adjust. Then go to the Home tab and select Format from the Cells group. Then select AutoFit Column Width or AutoFit Row Height from the drop-down menu.
How the AutoFit Feature Works
The AutoFit feature will automatically adjust the width and height of the selected cells to fit the text. It will also adjust any adjacent cells to match the new width or height. Note that the AutoFit feature only works with text; it won’t adjust the size of images or other objects.
Merging Cells to Fit Text
Another way to expand cells to fit text is by merging cells. Merging cells combines multiple cells into one larger cell. Here are the steps for merging cells:
Merging Cells
To merge cells, select the cells you want to merge. Then go to the Home tab and select Merge & Center from the Alignment group. This will combine the selected cells into one larger cell.
Limitations of Merging Cells
It’s important to note that merged cells can’t be split back into separate cells. So if you need to edit the contents of the merged cell, you’ll have to delete it and start over. Also, merged cells can’t contain formulas, so if you’re using formulas in the cells you’re merging, you’ll need to copy and paste them into the merged cell.

Wrapping Text in Excel Cells
Another way to expand cells to fit text is by wrapping text. Wrapping text allows you to display multiple lines of text within a single cell. Here are the steps for wrapping text in Excel cells:
Selecting the Cell or Range
First, select the cell or range of cells you want to wrap. To select a single cell, just click on it. To select a range of cells, click on the first cell and then drag your mouse over the other cells you want to select.
Activating Wrap Text
Once the cells are selected, go to the Home tab and select Wrap Text from the Alignment group. This will activate the Wrap Text feature and allow multiple lines of text to be displayed in the selected cells.

Inserting Line Breaks to Fit Text in Cells
Finally, you can also insert line breaks to fit text in cells. Line breaks allow you to fit more text into a single cell by breaking it up into multiple lines. Here are the steps for inserting line breaks:
Selecting the Cell
First, select the cell you want to insert the line break in. To select a single cell, just click on it.
Inserting Line Breaks
Once the cell is selected, go to the Home tab and select Wrap Text from the Alignment group. Then press Alt+Enter to insert a line break in the cell. You can repeat this process as many times as needed to fit all the text in the cell.
Conclusion
Expanding cells to fit text is an important part of working with data in spreadsheets. By using tables, AutoFit, merging cells, wrapping text, and inserting line breaks, you can easily adjust the size of cells to make sure all the information is visible. With practice, you’ll be able to quickly and easily expand cells to fit text.
(Note: Is this article not meeting your expectations? Do you have knowledge or insights to share? Unlock new opportunities and expand your reach by joining our authors team. Click Registration to join us and share your expertise with our readers.)
