Introduction
Cats are a great addition to any family, but they come with their fair share of responsibilities. One of those is cleaning out the litter box. If you’ve invested in a Litter Robot 3, this process can be even easier. But if you’re new to using one of these automated litter boxes, you may be wondering how to empty it. Don’t worry – we’re here to help! This article will provide a step-by-step guide for safely emptying your Litter Robot 3.
Step-by-Step Guide for Emptying the Litter Robot 3
Emptying the Litter Robot 3 is a straightforward process that can be completed in five simple steps. Here’s what you need to do:
Unplugging the Robot
The first step is to unplug the robot. Make sure that the robot has been turned off before unplugging it. This will prevent any potential electrical shocks or malfunctions.
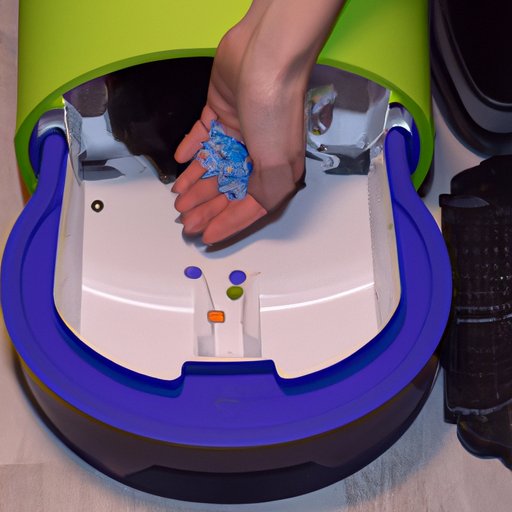
Removing the Waste Drawer
Once the robot has been unplugged, you can remove the waste drawer. This is located at the bottom of the robot. To remove it, simply pull it out by the handle. The waste drawer should come out easily, but be careful not to spill any of the litter or waste inside.
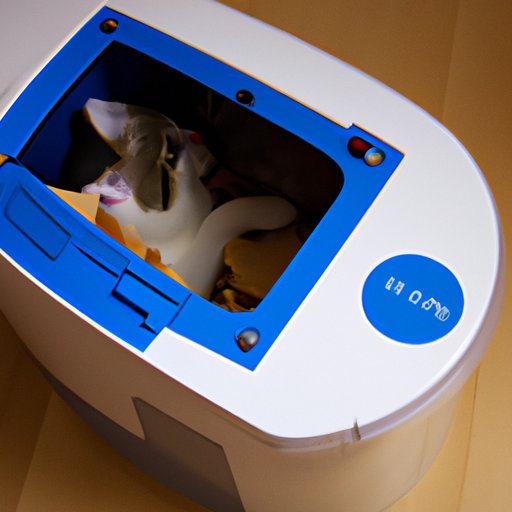
Discarding the Waste
Now it’s time to discard the waste. Carefully pour the contents of the waste drawer into a trash bag or container. Be sure to dispose of the waste properly – never throw it in the garbage or outdoors.
Replacing the Waste Drawer
Once the waste has been discarded, you can replace the waste drawer. Simply insert it back into the robot until it clicks into place. It should fit snugly.
Plugging the Robot Back In
Finally, you can plug the robot back in. Make sure that it is securely plugged in and then turn it on. It should now be ready for use.
How to Easily Empty Your Litter Robot 3
Although the process of emptying a Litter Robot 3 is relatively simple, there are a few tips and tricks that can make it even easier. Here are some quick and easy tips for safely emptying your robot:
Preparing the Area
Before you begin, it’s important to prepare the area. Make sure that the floor is clear and free of debris. This will help to ensure that no litter or waste gets spilled during the emptying process.
Using the Right Tools
It’s also a good idea to have the right tools on hand. You may want to use gloves to protect your hands from coming into contact with the waste. Additionally, you may want to use a dustpan and brush to clean up any excess litter that is spilled.
Cleaning Out the Tray
Once the robot has been unplugged, you can begin to clean out the tray. Use the dustpan and brush to sweep up any remaining litter. Then, take out the waste drawer and discard the contents.
Taking Out the Waste Drawer
The waste drawer should come out easily. Carefully pull it out by the handle and discard the contents into a trash bag or container.
Vacuuming Up Any Excess Litter
Once the waste has been removed, use a vacuum cleaner to pick up any excess litter. This will help to keep your home clean and free of pet odors.
Quick and Simple Tips for Safely Emptying a Litter Robot 3
When emptying a Litter Robot 3, it’s important to follow certain safety guidelines. Here are some quick and simple tips for safely emptying your robot:
Wear Protective Gear
It’s always a good idea to wear protective gear when handling pet waste. Gloves, aprons, and face masks can help to protect you from coming into contact with any potentially hazardous materials.
Secure the Lid
Make sure that the lid of the robot is securely closed before unplugging it. This will help to prevent any accidents or spills.
Don’t Overfill the Waste Drawer
When disposing of the waste, don’t overfill the waste drawer. This can cause it to become stuck and difficult to remove.
Strategies for Getting the Most Out of Your Litter Robot 3
In order to get the most out of your Litter Robot 3, it’s important to practice regular maintenance and cleaning. Here are some tips for getting the most out of your robot:
Regular Cleanings
It’s a good idea to schedule regular cleanings for your robot. Clean the tray and waste drawer every couple of weeks to keep them free of odors and bacteria.
Disinfecting the Tray
You may also want to disinfect the tray periodically. This can help to reduce the risk of spreading disease and illness.
Monitoring the Litter Level
Be sure to check the litter level regularly. If the litter is too low, the robot won’t be able to work properly.
Learn How to Empty the Litter Robot 3 in 5 Easy Steps
Emptying a Litter Robot 3 is a simple process that can be completed in just five easy steps. Here’s what you need to do:
Step 1: Unplug the Robot
The first step is to unplug the robot. Make sure that it has been turned off before unplugging it.
Step 2: Remove the Waste Drawer
Once the robot has been unplugged, you can remove the waste drawer. This is located at the bottom of the robot. To remove it, simply pull it out by the handle.
Step 3: Discard the Waste
Now it’s time to discard the waste. Carefully pour the contents of the waste drawer into a trash bag or container. Be sure to dispose of the waste properly.
Step 4: Replace the Waste Drawer
Once the waste has been discarded, you can replace the waste drawer. Simply insert it back into the robot until it clicks into place.
Step 5: Plug the Robot Back In
Finally, you can plug the robot back in. Make sure that it is securely plugged in and then turn it on.
How to Empty a Litter Robot 3 Without Making a Mess
It’s possible to empty a Litter Robot 3 without making a mess. Here are some tips for doing so:
Wearing Gloves
Always wear gloves when handling pet waste. This will help to protect your hands from coming into contact with any potentially hazardous materials.
Covering the Floor
It’s also a good idea to cover the floor with newspaper or a tarp. This will help to contain any spills or messes.
Utilizing a Trash Can
When disposing of the waste, make sure to use a trash can. This will help to keep your home clean and free of pet odors.
Get the Most Out of Your Litter Robot 3 with These Tips for Cleaning and Emptying
In order to get the most out of your Litter Robot 3, it’s important to practice regular maintenance and cleaning. Here are some tips for getting the most out of your robot:
Scheduling Regular Cleanings
It’s a good idea to schedule regular cleanings for your robot. Clean the tray and waste drawer every couple of weeks to keep them free of odors and bacteria.
Disinfecting the Tray
You may also want to disinfect the tray periodically. This can help to reduce the risk of spreading disease and illness.
Replacing the Litter Frequently
Be sure to replace the litter frequently. This will help to keep the robot running smoothly and efficiently.
Conclusion
Emptying a Litter Robot 3 doesn’t have to be a difficult task. With the right tools and knowledge, anyone can easily and safely empty their robot. Just remember to unplug the robot, remove the waste drawer, discard the waste, replace the waste drawer, and plug the robot back in. Additionally, it’s important to practice regular maintenance and cleaning to get the most out of your robot. By following these simple steps, you can keep your Litter Robot 3 running smoothly and efficiently.
(Note: Is this article not meeting your expectations? Do you have knowledge or insights to share? Unlock new opportunities and expand your reach by joining our authors team. Click Registration to join us and share your expertise with our readers.)