Introduction
Robotic arms are mechanical devices that can be programmed to move and perform tasks in place of humans. They are used in a variety of industries, from manufacturing to medical applications, and are an important part of modern technology. Drawing a robotic arm can be a challenging but rewarding experience, as it requires an understanding of the anatomy of the device and how to create a realistic representation of it. This article will explore how to draw a robotic arm by breaking down its anatomy, discussing the materials needed, and providing tips and tricks for creating a professional-looking drawing.
Exploring the Anatomy of a Robotic Arm: A Step-by-Step Guide to Drawing One
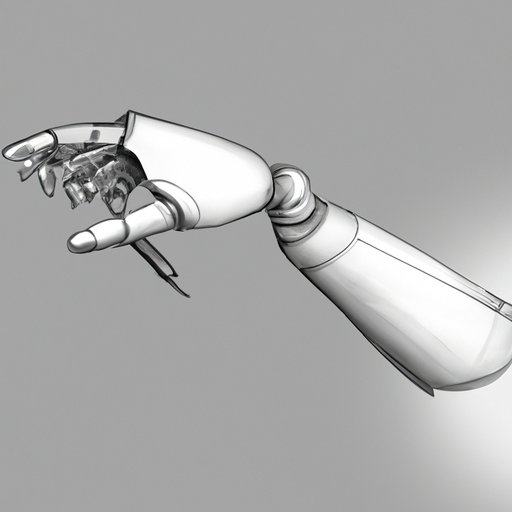
Before beginning to draw a robotic arm, it is important to understand the anatomy of the device. A robotic arm typically consists of three main parts: the base, the arm, and the end effector. The base is what connects the arm to the rest of the robot and provides stability. The arm is the main component of the robot and is responsible for moving and manipulating objects. Finally, the end effector is the tool attached to the arm, which can be anything from a gripper or drill to a camera or laser.
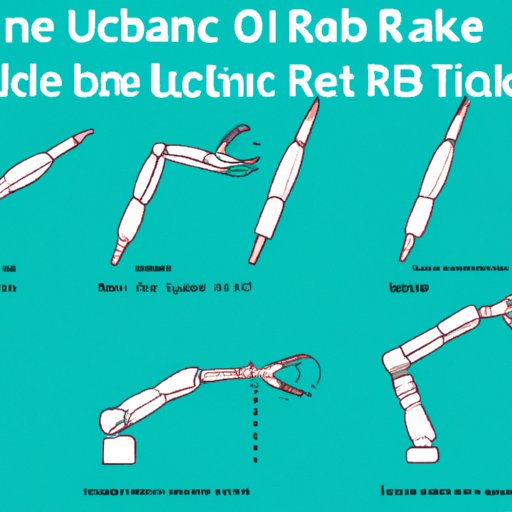
Once you have a basic understanding of the anatomy of a robotic arm, you can begin to break it down into smaller parts. Start by identifying the individual joints of the arm and labeling them accordingly. For example, the shoulder joint is the first link between the base and the arm; the elbow joint is the second link between the base and the arm; and so on. Once you have labeled all the joints, you can begin to draw out the basic shape of the robotic arm.
When drawing the robotic arm, it is important to pay attention to the details. Look closely at the angles and curves of each joint to ensure they are correctly represented. It is also helpful to draw out the wires and cables connecting the different components of the robot, as this will give your drawing a more realistic look. Finally, don’t forget to add any additional features such as sensors or lights to your robotic arm drawing.
From Sketch to Finish: An Overview of Drawing a Robotic Arm
Once you have a basic sketch of the robotic arm, you can begin to think about what materials you will need to complete your drawing. Depending on the complexity of your drawing, you may want to use pencils, pens, markers, or even paint. It is important to choose the right materials for your drawing, as this will determine how realistic your final product looks.
When it comes to sketching out a robotic arm, there are two basic techniques you can use. The first is to draw the outlines of the robotic arm and then add in details such as wires and cables. The second technique is to draw the individual components of the robotic arm separately and then assemble them together. Whichever technique you choose, it is important to take your time and make sure the proportions of the robotic arm are correct.
Once you have a finished sketch of the robotic arm, you can begin to add finishing touches to make your drawing look professional. This includes adding shadows and highlights to give the drawing dimension, and adding texture and color to make it look more life-like. You can also experiment with different line weights to make the robotic arm look more dynamic.
Learn to Draw a Robotic Arm with These Simple Tips and Tricks
Drawing a robotic arm can be a daunting task, but with these simple tips and tricks, you can learn to draw one like a pro. When drawing the proportions of a robotic arm, it is important to keep in mind the size of the components relative to each other. Additionally, when adding movement to your drawing, try to capture the fluidity of the robotic arm’s movements by drawing curved lines instead of straight ones.
To make your robotic arm drawing look even more realistic, you can experiment with different textures and colors. For example, you can use light and dark shades of gray to represent metal surfaces, or bright colors to represent plastic surfaces. Additionally, you can add small details such as scratches or worn edges to make the robotic arm look more lifelike.
How to Create a Realistic Robotic Arm Drawing in 7 Easy Steps
Creating a realistic robotic arm drawing doesn’t have to be difficult. Follow these seven easy steps to learn how to draw a robotic arm like a professional:
Step 1: Sketch out the basic shape of the robotic arm. Start by drawing the outline of the robotic arm and then add in the individual components such as the joints, wires, and cables.
Step 2: Add detail to the robotic arm. This includes things like screws, nuts, bolts, sensors, and lights.
Step 3: Begin shading and texturing the robotic arm. Use shading techniques such as cross-hatching or stippling to create a realistic look.
Step 4: Layering color to give depth to your drawing. Experiment with different colors and shades to create a 3D effect.
Step 5: Adding highlights and shadows to make it look real. Use light and dark shades of the same color to give the robotic arm a more life-like appearance.
Step 6: Final touches to make your drawing pop. Use fine-tipped pens or markers to add small details such as scratches and worn edges.
Step 7: Refining your drawing. Look over your drawing and make any necessary adjustments to ensure it looks professional.
Get Creative – Learn How to Draw a Robotic Arm with These Fun Tutorials
Once you have mastered the basics of drawing a robotic arm, you can start to get creative with it. There are many different styles of robotic arms, from cartoonish to realistic, and tutorials to help you draw them all. For example, if you want to learn how to draw a cartoon robot arm, you can find tutorials online that explain the process step-by-step. Similarly, if you want to learn how to draw a realistic robot arm, there are also tutorials available to help you do that.
From Start to Finish: An In-Depth Guide to Drawing a Robotic Arm
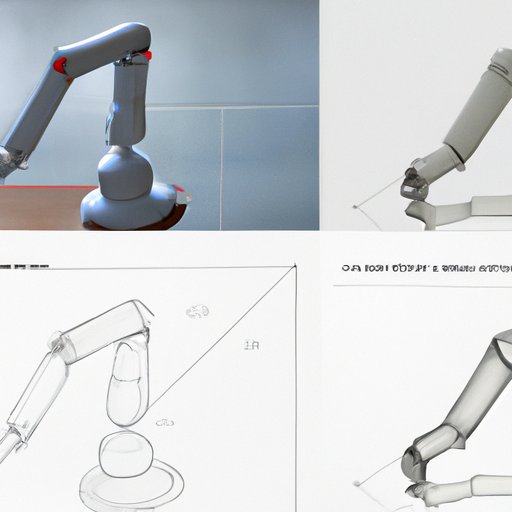
Drawing a realistic robotic arm requires practice and patience. To get started, gather reference images of robotic arms to use as inspiration. This will help you better understand the anatomy of a robotic arm and how to accurately draw it. Additionally, it is important to understand perspective and proportion when drawing a robotic arm. Pay close attention to the sizes and angles of the different components, and make sure they are accurately represented in your drawing.
Finally, use these tips and tricks to make your robotic arm drawing look more life-like. Add movement and dimension to your drawing by using curved lines instead of straight ones. Experiment with different textures and colors to give your drawing a more realistic look. And don’t forget to add small details such as scratches and worn edges to make your drawing look professional.
Conclusion
In conclusion, drawing a robotic arm can be a challenging but rewarding experience. With a basic understanding of the anatomy of a robotic arm and the right materials, you can learn to draw one like a pro. Gather reference images, understand perspective and proportion, and use tips and tricks to make your drawing look more life-like. With practice and patience, you can create a realistic robotic arm drawing that looks professional.
(Note: Is this article not meeting your expectations? Do you have knowledge or insights to share? Unlock new opportunities and expand your reach by joining our authors team. Click Registration to join us and share your expertise with our readers.)