Introduction
Automation is a powerful tool that allows producers to create complex and dynamic musical arrangements. It allows you to control various aspects of a track over time, such as volume levels, panning, filtering and more. With the right automation techniques, it’s possible to create intricate and interesting soundscapes that would otherwise be difficult or impossible to achieve. In this article, we’ll explore how to automate in FL Studio, a popular digital audio workstation (DAW).
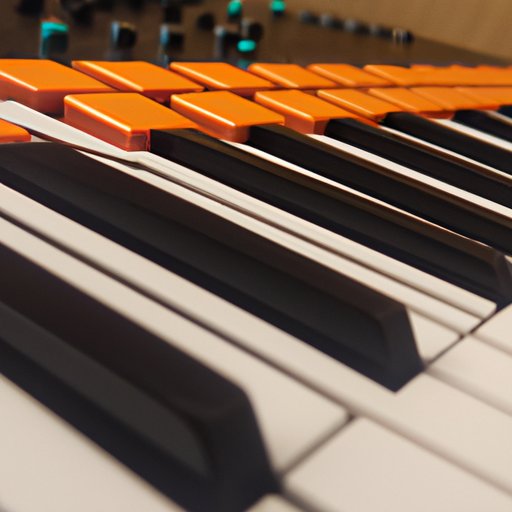
Utilizing the Step Sequencer for Automation
The Step Sequencer is one of the most powerful tools in FL Studio for creating automated sequences. It allows you to create patterns by entering notes into a grid, similar to a drum machine. You can then apply automation to these patterns to create dynamic and evolving rhythms.
What is the Step Sequencer?
The Step Sequencer is a graphical interface for creating patterns. Each pattern consists of several tracks, with each track representing one instrument or sound. Each track has its own set of controls, including volume, panning, pitch and other parameters. The Step Sequencer also includes several automation options, allowing you to easily create dynamic patterns.
How to Use the Step Sequencer for Automation
Using the Step Sequencer to create automated sequences is relatively straightforward. First, select the parameter you want to automate. This could be the volume, panning, pitch or any other parameter. Then, select the “Record Automation” button at the bottom of the window. Now, when you play your pattern, the parameter will be recorded automatically. You can then edit the automation data to create complex and dynamic patterns.
Using the Piano Roll for Automation
The Piano Roll is another useful tool for creating automated sequences. It allows you to enter notes on a two-dimensional grid, similar to a traditional piano roll. You can then use the Piano Roll to apply automation to your patterns.
What is the Piano Roll?
The Piano Roll is a graphical interface for creating melodies and chords. It allows you to enter notes on a two-dimensional grid, similar to a traditional piano roll. You can then use the Piano Roll to apply automation to your patterns. For example, you can automate the volume, panning, pitch and other parameters over time. This can be used to create dynamic and evolving melodies.
How to Use the Piano Roll for Automation
Using the Piano Roll for automation is fairly straightforward. First, select the parameter you want to automate. This could be the volume, panning, pitch or any other parameter. Then, select the “Record Automation” button at the bottom of the window. Now, when you play your pattern, the parameter will be recorded automatically. You can then edit the automation data to create complex and dynamic patterns.
Working with the Playlist for Automation
The Playlist is another powerful tool for creating automated sequences. It allows you to arrange and edit patterns, as well as apply automation to individual clips.
What is the Playlist?
The Playlist is a graphical interface for arranging patterns. It allows you to arrange patterns in order, as well as edit individual clips. You can also apply automation to individual clips, allowing you to create dynamic and evolving arrangements.
How to Use the Playlist for Automation
Using the Playlist for automation is fairly straightforward. First, select the parameter you want to automate. This could be the volume, panning, pitch or any other parameter. Then, select the “Record Automation” button at the bottom of the window. Now, when you play your pattern, the parameter will be recorded automatically. You can then edit the automation data to create complex and dynamic patterns.
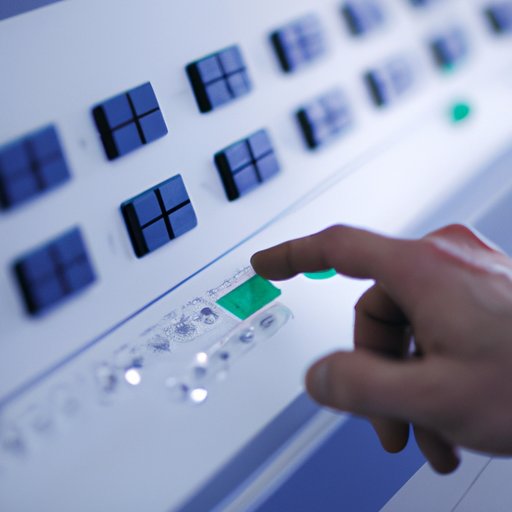
Exploring the Various Automation Modes in FL Studio
FL Studio includes several different automation modes, each of which can be used to create unique and interesting effects. These include Envelope Mode, LFO Mode, Note Off Mode and Velocity Mode.
What are the Different Automation Modes in FL Studio?
Envelope Mode is a powerful tool for creating complex and dynamic sounds. It allows you to draw automation curves that can be used to control various parameters over time. LFO Mode allows you to create low-frequency oscillation (LFO) effects, such as vibrato and tremolo. Note Off Mode allows you to create staccato and legato effects. Velocity Mode allows you to modulate the velocity of notes, allowing you to create subtle changes in dynamics.
How to Use the Different Automation Modes
Using the different automation modes in FL Studio is fairly straightforward. First, select the parameter you want to automate. This could be the volume, panning, pitch or any other parameter. Then, select the “Record Automation” button at the bottom of the window. Now, when you play your pattern, the parameter will be recorded automatically. You can then edit the automation data to create complex and dynamic patterns.
Creating Macros to Automate Processes in FL Studio
Macros are powerful tools for automating processes in FL Studio. They allow you to quickly and easily create complex and dynamic sounds.
What are Macros?
Macros are scripts that allow you to automate processes in FL Studio. They can be used to quickly and easily create complex and dynamic sounds. For example, you can use Macros to automate the volume, panning, pitch and other parameters. You can also use Macros to create complex modulation effects, such as vibrato and tremolo.
How to Create Macros to Automate Processes
Creating Macros to automate processes in FL Studio is relatively easy. First, select the parameter you want to automate. This could be the volume, panning, pitch or any other parameter. Then, select the “Macro” button at the bottom of the window. Now, you can create a script to automate the parameter. You can use the “Macro Editor” to create and edit the script. Once you’ve created the script, you can assign it to any parameter in FL Studio.
Conclusion
In this article, we explored how to automate in FL Studio. We looked at the various tools and techniques available, such as the Step Sequencer, Piano Roll, Playlist and Macros. We also discussed the different automation modes in FL Studio, including Envelope Mode, LFO Mode, Note Off Mode and Velocity Mode. By utilizing these tools and techniques, you can create complex and dynamic music productions in FL Studio.
Summary
Automation is a powerful tool that allows producers to create complex and dynamic musical arrangements. In this article, we explored how to automate in FL Studio, a popular digital audio workstation (DAW). We discussed the various tools and techniques available, such as the Step Sequencer, Piano Roll, Playlist and Macros. We also discussed the different automation modes in FL Studio, including Envelope Mode, LFO Mode, Note Off Mode and Velocity Mode. By utilizing these tools and techniques, you can create complex and dynamic music productions in FL Studio.
Final Thoughts
Automation is a powerful tool for creating dynamic and interesting music productions. With the right tools and techniques, you can create complex and evolving soundscapes that would otherwise be difficult or impossible to achieve. Hopefully, this article has given you a better understanding of how to automate in FL Studio.
(Note: Is this article not meeting your expectations? Do you have knowledge or insights to share? Unlock new opportunities and expand your reach by joining our authors team. Click Registration to join us and share your expertise with our readers.)