Introduction
A Litter Robot is an automated self-cleaning litter box that makes it easy to keep your cat’s litter box clean and odor-free. It is designed to eliminate the need for scooping and changing the cat litter by automatically sifting through the litter and disposing of the waste into a drawer. Assembling the Litter Robot may seem like a daunting task, but with the right guidance and tools, you can easily put it together in no time.
The first step is understanding the benefits of owning a Litter Robot. This device not only eliminates the need for manual scooping, but it also helps reduce odor from the litter box. It also helps to extend the life of the litter, as it sifts out the clumps before they become too large. Finally, it is easy to maintain and requires minimal effort from the owner.
Step-by-Step Guide: How to Assemble a Litter Robot
Now that you know the benefits of owning a Litter Robot, it’s time to get started on assembling it. Here’s a step-by-step guide on how to put together your new litter box.
Unpacking the Parts
The first step is to carefully unpack all the parts. There should be a power supply, base, waste drawer, dome, and various other pieces. Make sure to read the instructions carefully so you know what each part is and where it goes.
Connecting the Power Supply
Next, connect the power supply to the base according to the instructions. Once that is done, plug the power cord into the wall outlet.
Assembling the Base
Now it’s time to assemble the base. Place the base on a flat surface and attach the plastic feet. Then, attach the handle to the top of the base.
Installing the Waste Drawer
The next step is to install the waste drawer. Slide the drawer into the slot on the base and secure it with the screws provided. Make sure the drawer is firmly in place.
Attaching the Dome
Now it’s time to attach the dome. Place the dome onto the base and secure it with the screws provided. Make sure the dome is securely attached to the base.
Finalizing the Setup
The last step is to finalize the setup. Place the litter box inside the dome and fill it with the litter of your choice. Secure the top of the dome to the base and you’re ready to go!

The Essential Guide to Assembling a Litter Robot
Now that you know the basic steps for assembling a Litter Robot, let’s take a look at some of the essential tools and tips for putting it together.
What Tools Do I Need?
Before you start, make sure you have the right tools for the job. You will need a Phillips head screwdriver, a pair of scissors, and a level. Other helpful tools include pliers, wire cutters, and a drill.
Tips for Assembling the Litter Robot
When assembling the Litter Robot, it is important to follow the instructions carefully. Make sure all the screws are tightened properly and all the parts are securely attached. Don’t forget to check the levelness of the base to ensure the robot works properly. It is also helpful to use a damp cloth to wipe down the outside of the robot after assembly.
A Beginner’s Guide to Putting Together a Litter Robot
If you’re new to assembling robots, here are some tips to help you get started.
What to Expect When Assembling a Litter Robot
It is important to remember that assembling a Litter Robot is not difficult, but it does require patience and careful attention to detail. The process can take anywhere from 30 minutes to an hour, depending on the model and complexity of the robot. Be sure to read the instructions carefully and double-check to make sure all the parts are in place.
Common Mistakes to Avoid
One of the most common mistakes when assembling a Litter Robot is not tightening the screws properly. This can cause the robot to malfunction or, worse, break. Also, make sure to keep all the parts organized. If you lose a piece or don’t know where it goes, refer to the instructions. Finally, be sure to keep the area around the robot clean and free of debris.

Unpacking and Assembling Your Litter Robot
Now that you know the basics of assembling a Litter Robot, it’s time to get started.
Carefully Unpack Your Litter Robot
The first step is to carefully unpack the Litter Robot. Make sure to read the instructions carefully and follow them step-by-step. If you encounter any problems, refer to the troubleshooting guide in the user manual.
Follow Instructions Carefully
When following the instructions, make sure to pay close attention to the details. Double-check all the connections and make sure the screws are tightened properly. If something doesn’t seem right, refer to the instructions again.

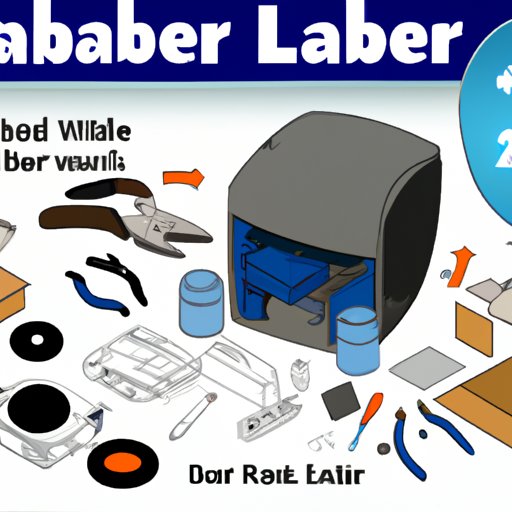
An Illustrated Guide to Assembling a Litter Robot
For those who prefer visual instructions, an illustrated guide can be a great resource.
Diagrams of How to Assemble the Litter Robot
Many guides come with diagrams showing each step of the assembly process. This can be a great way to understand how the robot works and how to put it together.
Pictures of Each Step in the Process
Some guides also provide pictures of each step in the assembly process. This makes it easier to visualize and understand how everything fits together.
A Video Tutorial on Assembling a Litter Robot
Another great resource is a video tutorial. These can be found online and provide a step-by-step guide to assembling the Litter Robot.
Finding a Reliable Video Tutorial
When looking for a reliable video tutorial, make sure to find one from a reputable source. Many tutorials are available on YouTube, but be sure to read the reviews before watching.
Watching and Following Along with the Video
Once you’ve found a reliable video tutorial, watch it and follow along. Most videos provide detailed instructions on how to assemble the robot, so make sure to pay close attention.
Conclusion
Assembling a Litter Robot may seem intimidating at first, but with the right guidance and tools, it can be done quickly and easily. This guide has provided a step-by-step tutorial on how to assemble a Litter Robot, from unpacking the parts to connecting the power supply. We have also discussed some essential tools and tips for assembling the robot, as well as a beginner’s guide to putting it together. Finally, we have provided an illustrated guide and a video tutorial on assembling the Litter Robot. With this information, you should now be able to successfully assemble your new robot litter box.
For further resources, please refer to the official website of the manufacturer of your Litter Robot. There you will find additional information on assembling the robot, as well as troubleshooting tips and FAQs.
(Note: Is this article not meeting your expectations? Do you have knowledge or insights to share? Unlock new opportunities and expand your reach by joining our authors team. Click Registration to join us and share your expertise with our readers.)