Introduction: What is Golden Hour and Why is it Important for Photographers?
For photographers, golden hour is a magical time of day when the sun is low in the sky, creating stunningly beautiful lighting conditions. But what is golden hour, exactly, and why is it so important for photographers?
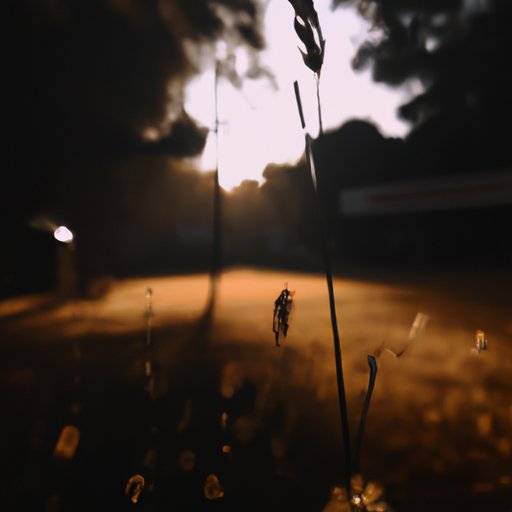
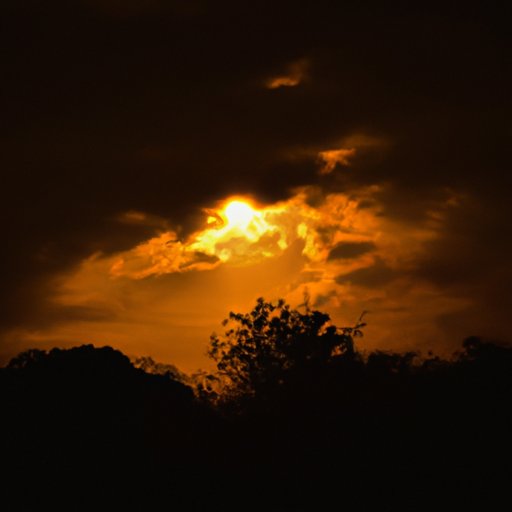
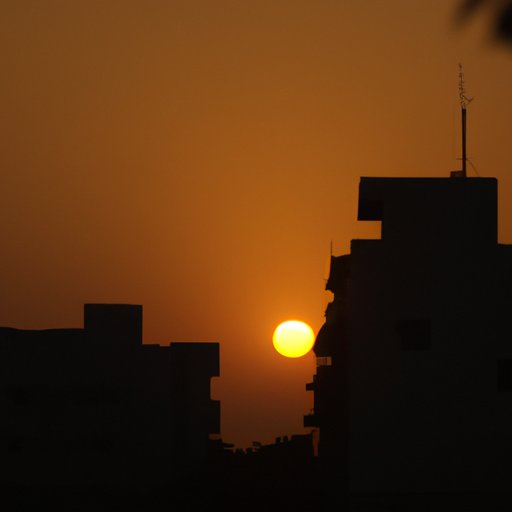
Golden hour is defined as the period of time shortly after sunrise or just before sunset, when the sunlight is soft, warm, and golden. During this time, the sun is low in the sky and its rays are diffused through more atmosphere, which reduces the harshness of direct sunlight and creates a softer, more flattering light. This makes it an ideal time for taking photos, as the quality of the light can have a huge impact on the look of your photos.
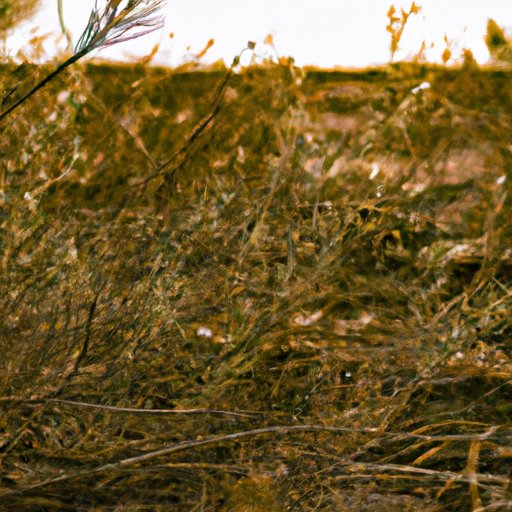
The benefits of shooting during golden hour include softer, warmer light, more natural colors, and longer shadows. This type of light is especially flattering for portraits, and can also be used to create dramatic landscapes and cityscapes. In addition, the lower angle of the sun means that you won’t have to worry about harsh shadows or bright reflections off of surfaces like water.
Exploring the Best Times of Day for Taking Photos During Golden Hour
The best times of day for taking photos during golden hour depend on the time of year and your location. Generally speaking, the golden hour occurs shortly after sunrise and just before sunset, but the exact times may vary depending on where you live.
In the northern hemisphere, the golden hour usually begins around 30 minutes after sunrise and ends around 30 minutes before sunset. In the southern hemisphere, the golden hour usually begins around 30 minutes before sunrise and ends around 30 minutes after sunset. The duration of the golden hour varies depending on the season and your location, but typically lasts for about an hour.
It’s important to note that the times of day for the golden hour vary depending on your location. For example, if you’re located near the equator, the sun will rise and set at roughly the same time each day, while if you’re located farther away from the equator, the times of day for sunrise and sunset will vary depending on the season.
Capturing the Magic of Golden Hour Photography
To make the most of golden hour photography, it’s important to understand the basics of taking photos during this special time of day. Here are some tips for capturing the magic of golden hour.
First, use a tripod for stability. Since the light is softer during golden hour, you may need to use slower shutter speeds in order to properly expose your photos. A tripod will help keep your camera steady and ensure sharp images.
Second, use the right lens for the job. Wide-angle lenses are great for capturing sweeping landscapes, while telephoto lenses are ideal for capturing distant subjects. Prime lenses can help you achieve a shallow depth of field, creating a beautiful bokeh effect in your photos.
Finally, experiment with different angles and compositions. Golden hour light casts interesting shadows and highlights, so try to incorporate these into your photos. Shoot from different angles and distances to find the most visually pleasing composition.
Tips for Photographers: How to Make the Most of Golden Hour
Taking advantage of golden hour requires some planning, but it’s worth the effort. Here are some tips for photographers on how to make the most of golden hour.
First, plan ahead. Check the weather forecast and plan your shoot accordingly. Look up the exact time of sunrise and sunset for your location, and make sure you arrive at your location early enough to set up and take advantage of the best light.
Second, use the right equipment. Bring along a tripod, a variety of lenses, and any other accessories you might need. Also, make sure your batteries are fully charged and that you have plenty of memory cards.
Third, find the best light. Look for areas with open shade or diffused sunlight, as these will provide the best lighting conditions for taking photos. Avoid shooting directly into the sun, as this will cause harsh shadows and bright reflections.
Get the Perfect Lighting with Golden Hour Photography
Understanding how the sun affects lighting can help you get the perfect lighting for your photos. Here are some tips for using the sun’s position to your advantage.
First, look for open shade or diffused sunlight. Shooting in open shade will allow you to take advantage of soft, even lighting without having to worry about harsh shadows or bright reflections. If you’re shooting outdoors, look for areas with trees or buildings that can block out the direct sunlight.
Second, pay attention to the direction of the light. The direction of the light can have a big impact on the look of your photos. For example, backlighting can create beautiful silhouettes, while side lighting can add depth to your photos.
Finally, experiment with different angles. Moving around and shooting from different angles can help you capture the light in different ways. Try shooting from high angles or low angles, or move around to see how the light changes in different areas.
How to Use Golden Hour for Professional-Looking Photos
Using golden hour light for professional-looking photos takes some practice, but it’s worth the effort. Here are some tips for getting the perfect shot.
First, prepare for the shoot. Make sure you have the right equipment and that your batteries are fully charged. Also, make sure you know the exact time of sunrise and sunset for your location.
Second, choose the right composition. Consider the direction of the light and the time of day to determine the best composition for your photo. Look for areas with open shade or diffused sunlight, and experiment with different angles to find the most visually pleasing composition.
Third, utilize shadows and highlights. Shadows and highlights can add depth and dimension to your photos. Look for areas with interesting shadows or highlights, and use them to your advantage.
Making the Most of Light: Understanding Golden Hour Photography
To really make the most of golden hour light, it’s important to understand how natural light works. Here are some tips for utilizing natural light and understanding white balance.
First, understand how natural light works. Natural light is constantly changing, so it’s important to pay attention to the direction and intensity of the light. Pay attention to the way the light is hitting your subject, and adjust your settings accordingly.
Second, understand white balance. White balance is a camera setting that allows you to adjust the color temperature of your photos. By adjusting the white balance, you can make sure that the colors in your photos are accurate and that the light looks natural.
Finally, get creative with editing. Editing your photos can help you make the most of the light and bring out the best in your photos. Try experimenting with different editing techniques such as contrast, saturation, and vignetting to add drama and depth to your photos.
Conclusion: How to Take Amazing Photos During Golden Hour
Golden hour photography is a great way to capture stunningly beautiful photos. By understanding the basics of golden hour photography, you can make the most of the light and take amazing photos. Remember to plan ahead, use the right equipment, and find the best light. With some practice and experimentation, you can master the art of golden hour photography.
To recap, golden hour is the period of time shortly after sunrise or just before sunset when the sunlight is soft, warm, and golden. It’s the ideal time for taking photos, as the quality of the light can have a huge impact on the look of your photos. To make the most of golden hour photography, plan ahead, use the right equipment, and find the best light. Pay attention to the direction of the light, utilize shadows and highlights, and get creative with editing. With these tips, you’ll be able to take amazing photos during golden hour.
(Note: Is this article not meeting your expectations? Do you have knowledge or insights to share? Unlock new opportunities and expand your reach by joining our authors team. Click Registration to join us and share your expertise with our readers.)