Introduction
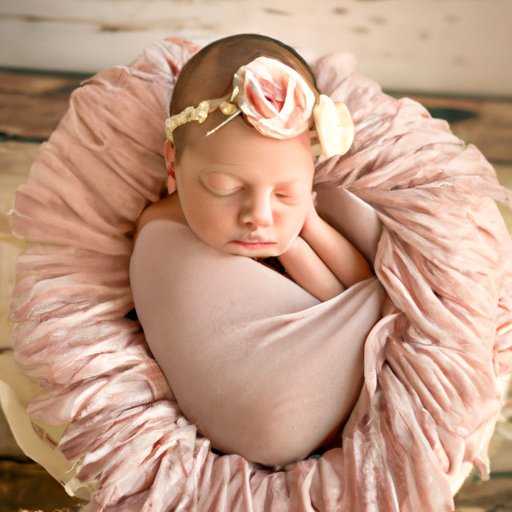
Newborn photography is a beautiful way to capture the innocence and fragility of a baby’s first days in the world. Wrapping a newborn for photography can be a tricky process, but with a few simple steps you can create stunning images that will last a lifetime.
In this article, we will discuss the need for wrapping newborns for photography, provide tips for choosing the right blanket and fabric, and explain how to start with the legs, secure the arms, create a bow, add props, and finally take photos.
Use a Soft Blanket
Choosing the right blanket is essential when wrapping a newborn for photography. It is important to select a material that is soft and lightweight, so as not to cause discomfort to your little one. Fleece, muslin, and cotton are all great options for newborn photography wraps.
The benefits of using a soft blanket include providing gentle support for the baby, creating a warm and cozy environment, and helping to keep the baby calm and relaxed during the session. Additionally, the texture of the blanket will lend itself nicely to the overall look of the photos.
Start with the Legs
Once you have chosen the perfect blanket, you can begin to wrap the newborn. Start by positioning the baby’s legs in the middle of the blanket and folding the sides over them. Make sure the fabric is loose enough that the baby can move their legs freely, but tight enough that they feel secure.
Next, bring the fabric up over the baby’s chest and tuck it under the back of their head. This will help to keep everything in place and prevent any slipping or sliding of the fabric.
Secure the Arms
Now it’s time to secure the baby’s arms. Position the baby’s arms at their sides and fold the fabric over them. Gently wrap the fabric around each arm, making sure it is not too tight. This will help to keep the baby’s arms in place and provide some extra security.
Once the arms are secure, you can continue to wrap the fabric around the baby’s body. Make sure the fabric is not too tight, as this could make the baby uncomfortable. You should also ensure that the fabric is not too loose, as this could cause the baby to slip out of the wrap.
Create a Bow
To finish off the look, tie a bow at the top of the wrap. This will help to secure everything in place and give the final image a polished look. You can use any type of ribbon or fabric that matches the color of the blanket. Be sure to tie the bow securely, but not too tightly, as this could cause discomfort for the baby.
Add Props
Adding props to a newborn photo shoot can help to create an extra special look. Some examples of props you can use include hats, blankets, stuffed animals, and flowers. Be sure to choose items that are safe for the baby and won’t cause any harm if they were to come into contact with the baby’s skin.
Props can also be used to create interesting textures and colors in the photos. You can experiment with different combinations to find the perfect look for your newborn photos.
Take Photos
Finally, it’s time to take some photos! When taking newborn photos, it’s important to make sure the baby is comfortable and secure. Remember to keep the fabric loose enough so the baby can move freely, but tight enough to keep them secure. Additionally, make sure you take plenty of photos from different angles to get the perfect shot.
Once you’ve taken the photos, you can adjust the lighting, colors, and other settings to create the perfect look. Afterward, you can share the photos with family and friends to show off your beautiful newborn!
Conclusion
Wrapping a newborn for photography can seem daunting at first, but with a few simple steps you can create stunning images that will last a lifetime. Be sure to use a soft blanket, start with the legs, secure the arms, create a bow, add props, and finally take photos.
(Note: Is this article not meeting your expectations? Do you have knowledge or insights to share? Unlock new opportunities and expand your reach by joining our authors team. Click Registration to join us and share your expertise with our readers.)