Introduction
If you’re a proud owner of a travel trailer, then you know that taking care of it is an important part of keeping it in good condition. Properly winterizing your travel trailer can help ensure that it’s ready to go when the warm weather rolls around again. This article will provide a step-by-step guide on how to winterize your travel trailer.

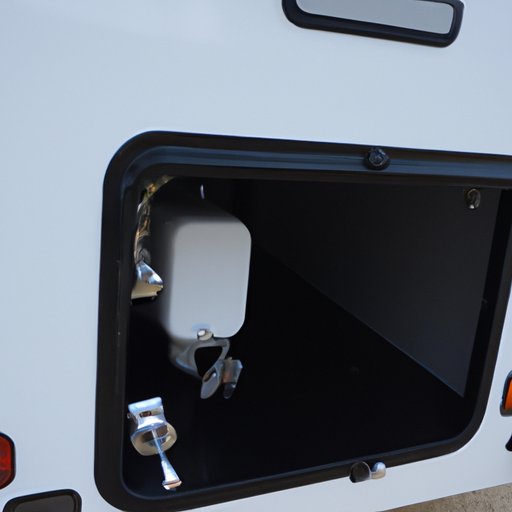
Inspect Seals and Vents for Damage
The first step in winterizing your travel trailer is to inspect all the seals and vents for any signs of damage. This includes checking around windows, doors, and other openings for any cracking or gaps. You should also inspect the roof for any wear and tear. If you find any damage, you’ll need to repair it before winterizing your trailer.
To spot any issues, use a flashlight to look over the seals and vents. You may also want to use a mirror to check hard-to-reach areas. If you notice any cracks or gaps, use sealant to patch them up. Make sure to use a sealant specifically designed for RV use.
Clean and Store Exterior Items
Once you’ve inspected and repaired any damage, it’s time to clean and store the exterior items on your travel trailer. Start by giving the outside of your trailer a thorough washing with a mild soap and water solution. This will remove any dirt and debris that could cause corrosion during the winter months.
Next, remove any items such as hoses, outdoor furniture, grills, and more, and store them in waterproof containers. It’s important to make sure everything is completely dried off before storing it away to prevent mold and mildew from growing.

Drain and Flush Water System
Now it’s time to drain and flush the water system in your travel trailer. Begin by draining the fresh water tank. To do this, locate the valve and turn it counterclockwise until all of the water is drained out. Make sure you’ve emptied it completely before moving on.
Once the water tank is empty, you’ll need to flush the system with antifreeze. This will prevent freezing temperatures from damaging the pipes and other components. Pour the antifreeze in the drains and let it run through the entire system. Once you’re done, close all the valves and make sure they’re tightly sealed.
Clean and Treat Upholstery
It’s also important to take care of the upholstery in your travel trailer. Start by vacuuming the seats and other fabric surfaces to remove any dirt and debris. Then, apply a protectant to the upholstery to provide an extra layer of protection against moisture and staining.
Make sure to follow the instructions on the product label when applying the protectant. This will help ensure that your upholstery stays in good condition throughout the winter months.

Disconnect Batteries and Electrical Systems
Before you cover your travel trailer for the winter, you’ll need to disconnect the batteries and unplug all electrical systems. Start by turning off the main power switch and removing the negative cable from the battery. This will help prevent any accidental discharge.
Next, unplug all electrical systems such as lights, fans, and appliances. This will help prevent any electrical problems from occurring due to the cold temperatures.
Cover the Trailer with a Weatherproof Cover
The final step in winterizing your travel trailer is to cover it with a weatherproof cover. There are several types of covers available, so make sure to choose one that’s designed for RV use. Most covers should include straps and clips to secure it in place.
Be sure to install the cover correctly to ensure that it stays in place even in strong winds. It’s also a good idea to mark the location of your trailer with flags or stakes so that it’s easy to find when the snow melts.
Conclusion
Winterizing your travel trailer is essential for protecting it from the elements and ensuring it’s ready for use when the warmer months arrive. The steps outlined in this article provide a simple guide to preparing your trailer for winter. Inspecting seals and vents for damage, cleaning and storing exterior items, draining and flushing the water system, cleaning and treating upholstery, disconnecting batteries and electrical systems, and covering the trailer with a weatherproof cover are all important steps for properly winterizing your travel trailer.
(Note: Is this article not meeting your expectations? Do you have knowledge or insights to share? Unlock new opportunities and expand your reach by joining our authors team. Click Registration to join us and share your expertise with our readers.)