Introduction
Travel trailers are a great way to get away from it all and enjoy some time in nature. However, when temperatures drop, you’ll need a reliable furnace to keep your camper warm and comfortable. Knowing how to turn on the furnace in your travel trailer is essential for a safe and enjoyable camping experience. This article will provide an in-depth guide on how to turn on a travel trailer furnace.

Prepare a Checklist of Necessary Supplies
Before attempting to turn on the furnace, it’s important to make sure you have all the necessary supplies. According to the U.S. Department of Energy, “When shopping for a new furnace, be sure to consider the energy efficiency rating, heating capacity, installation costs, and annual operating costs.” It’s also helpful to have a checklist of required items that you may need to turn on the furnace. At a minimum, you should have the following supplies: propane tank, adjustable wrench, screwdriver, flashlight, and fire extinguisher.
Connect the Propane Tank to the Furnace
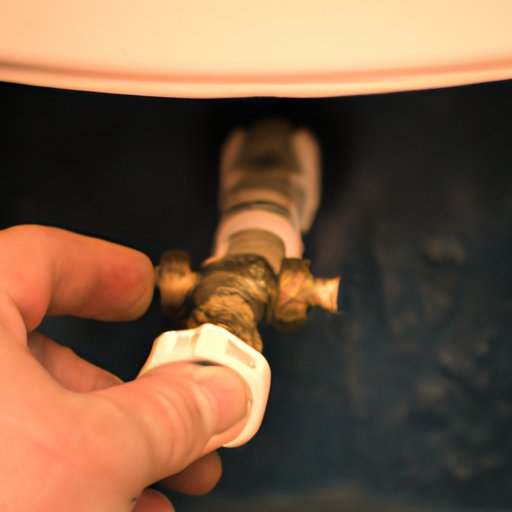
The first step in turning on a travel trailer furnace is to connect the propane tank to the furnace. To do this, you’ll need to locate the propane tank connection on the furnace. Once you’ve found it, use an adjustable wrench to secure the connection. Make sure the connection is tight, but don’t over-tighten it as this can cause damage. Additionally, it’s important to take safety precautions when connecting the propane tank. Be sure to read the manufacturer’s instructions carefully and always wear protective gear when working with gas.
Adjust the Thermostat Controls
Once the propane tank is connected, you’ll need to adjust the thermostat controls. There are generally two settings to choose from: heat and cool. If you’re trying to turn on the furnace, you’ll want to select the “heat” setting. You’ll then need to set the desired temperature. For most furnaces, the temperature range is between 45 and 85 degrees Fahrenheit. Once you’ve chosen the desired temperature, you’ll need to wait for the furnace to reach the set temperature.
Inspect the Pilot Light and Igniter
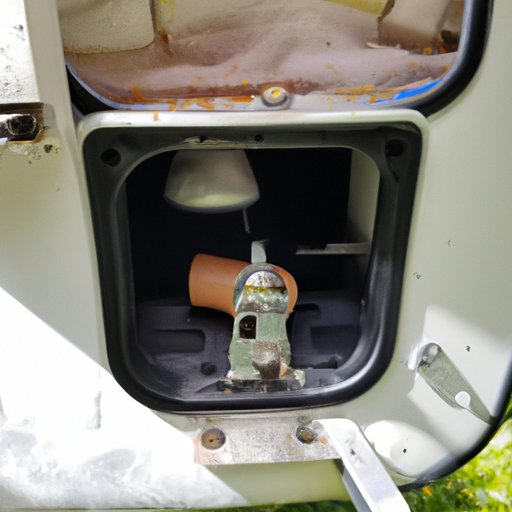
After the thermostat has been adjusted, it’s time to inspect the pilot light and igniter. The pilot light is a small flame that helps ignite the furnace. To check the pilot light, you’ll need to open the access panel and examine the flame. If it’s not lit, use a match or lighter to relight it. You’ll also need to test the igniter, which is responsible for lighting the main burner. Refer to the manufacturer’s instructions for detailed instructions on how to test the igniter.
Ensure Proper Ventilation
To ensure proper ventilation, you’ll need to check for airflow around the furnace. You’ll also need to open any vents or windows to allow fresh air to circulate. This will help keep the furnace running efficiently and prevent it from overheating. Additionally, you’ll want to check the exhaust pipe for any blockages or obstructions. If there are any issues, you’ll need to address them before turning on the furnace.
Test the Furnace for Proper Operation
Once all the preparations have been made, it’s time to test the furnace. Before doing so, you’ll need to make sure the thermostat is still set to the desired temperature. When you’re ready, turn on the furnace and wait for it to reach the set temperature. If everything is working properly, the furnace should turn off after reaching the set temperature. If it doesn’t, you’ll need to troubleshoot any potential issues.
Clean and Maintain the Furnace Regularly
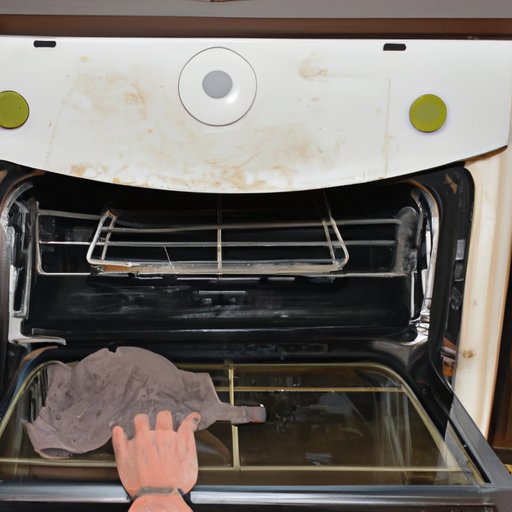
Finally, it’s important to clean and maintain the furnace regularly. This includes replacing the filter, cleaning the burners, and inspecting the exhaust system. Additionally, you’ll want to schedule regular cleanings and tune-ups to keep the furnace running efficiently. By taking the time to properly maintain your furnace, you can extend its life and reduce the risk of costly repairs.
Conclusion
Knowing how to turn on a travel trailer furnace is essential for a safe and enjoyable camping experience. This article has provided an in-depth guide on how to turn on a travel trailer furnace, including connecting the propane tank, adjusting the thermostat controls, inspecting the pilot light and igniter, ensuring proper ventilation, testing the furnace for proper operation, and cleaning and maintaining the furnace regularly. For more information, be sure to consult the manufacturer’s instructions and seek professional help if necessary.
(Note: Is this article not meeting your expectations? Do you have knowledge or insights to share? Unlock new opportunities and expand your reach by joining our authors team. Click Registration to join us and share your expertise with our readers.)