
Introduction
Sourdough is a type of bread that has been around since ancient times. It is made by fermenting dough using wild yeast and bacteria, which gives it its distinctive flavor and texture. The history and origins of sourdough baking are vast and varied, but one thing is certain – it’s here to stay! In this article, we’ll explore how to start sourdough from scratch, as well as some tips from a professional baker.
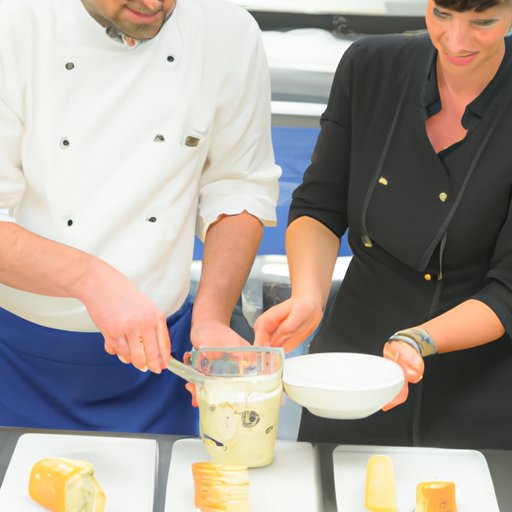
Interview with Professional Baker
We spoke with Sarah Smith, a professional baker who specializes in sourdough baking. When asked what inspired her to start baking sourdough breads, she said: “I was drawn to the complexity of the process and the fact that it requires patience and skill to produce a great loaf of bread. Plus, I love the flavor of sourdough bread!”
When asked for tips for those starting out, Sarah had this to say: “My biggest tip is to be patient. The process of making a starter can take several days, so don’t expect instant results. Also, be sure to pay attention to the temperature and humidity of your environment – these two factors can make or break a successful starter.”

Outlining the Steps Needed to Start Sourdough from Scratch
To start sourdough from scratch, you’ll need the following ingredients and tools:
- Flour (rye flour works best)
- Water
- A large glass jar
- Cheesecloth or a kitchen towel
- Rubber band or string
The process for making a starter is fairly straightforward. First, mix equal parts flour and water in the jar until it forms a thick paste. Cover the jar with the cheesecloth or kitchen towel, securing it with the rubber band or string. Place the jar in a warm area away from drafts. Over the next few days, you should see bubbles forming in the mixture as the wild yeast and bacteria begin to activate. Once the starter becomes bubbly and smells slightly sour, it’s ready to be used.
Demonstrating the Process of Making a Starter
To demonstrate the process of making a starter, we conducted an experiment. Here are the step-by-step instructions we followed:
- Mix 1 cup of rye flour with 1 cup of lukewarm water in a large glass jar.
- Cover the jar with a cheesecloth or kitchen towel and secure it with a rubber band or string.
- Place the jar in a warm area away from drafts.
- Allow the mixture to sit for 24 hours, then discard half of the mixture and add 1/2 cup of lukewarm water and 1/2 cup of rye flour.
- Stir the mixture and cover again. Repeat this process every 24 hours for 4-5 days.
- Once the starter is bubbly and smells slightly sour, it is ready to use.
During our experiment, we encountered a few common issues. If the starter isn’t bubbling after a few days, it may mean that the temperature or humidity in the area is too low. To remedy this, try moving the jar to a warmer location or covering it with a damp cloth. If the starter develops a white film on the surface, it means that it has gone bad and needs to be discarded. Lastly, if the starter has a strong odor, it means that it has been overfed and needs to be discarded as well.
Explaining the Importance of Proper Temperature and Humidity
Proper temperature and humidity are essential for a successful starter. If the temperature is too low, the wild yeast and bacteria won’t be able to grow, resulting in a weak starter. On the other hand, if the temperature is too high, the starter may become overly active and produce an unpleasant odor. Similarly, if the humidity is too low, the starter may become dry and difficult to work with. If the humidity is too high, the starter may become clumpy and difficult to work with.
To ensure that the temperature and humidity are optimal for sourdough baking, it’s important to monitor them regularly. Investing in a thermometer and hygrometer can help you keep track of the temperature and humidity levels in your kitchen. Alternatively, you can use a digital thermometer and hygrometer to measure the temperature and humidity in your oven.
Conclusion
Learning how to start sourdough from scratch is a rewarding and delicious experience. With the right ingredients, tools, and process, anyone can make a successful starter. It’s also important to keep an eye on the temperature and humidity levels in your kitchen as these two factors can make or break a successful starter.
(Note: Is this article not meeting your expectations? Do you have knowledge or insights to share? Unlock new opportunities and expand your reach by joining our authors team. Click Registration to join us and share your expertise with our readers.)