Introduction
Kombucha is a fermented tea beverage that has become increasingly popular due to its many health benefits. It is made by combining tea, sugar, and a culture of bacteria and yeast known as a SCOBY (Symbiotic Culture of Bacteria and Yeast). The fermentation process results in a tart, slightly fizzy drink that can be enjoyed plain or flavored with fruit or herbs. Homebrewing kombucha is a great way to enjoy the health benefits of this probiotic beverage while also saving money.
This article will provide a step-by-step guide for those interested in starting their own kombucha brewing journey. We’ll cover everything from gathering the necessary tools, selecting a quality tea blend, learning proper sanitization techniques, preparing sugar water for the fermentation process, making a SCOBY starter culture, monitoring and testing the kombucha during the brewing process, and bottling the finished product. Let’s get started!
Gather the Tools Needed to Brew Kombucha
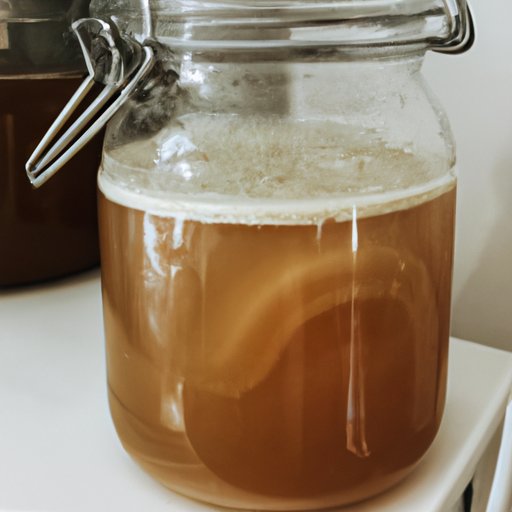
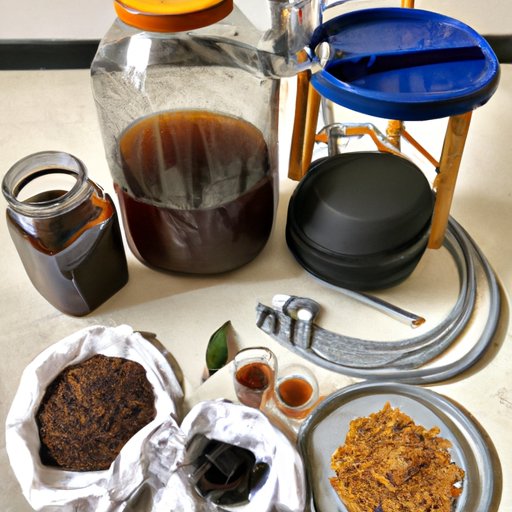
The first step in getting started with homebrewing kombucha is to gather all of the necessary tools and supplies. You’ll need a large glass container, such as a one-gallon mason jar, for fermenting the kombucha. You’ll also need a cloth cover and rubber band to secure it, a wooden spoon for stirring, and a funnel for transferring the kombucha into bottles. Additionally, you’ll need a thermometer, pH strips, and a bottle capper.
These supplies can be found online or in stores that specialize in homebrewing equipment. Be sure to purchase items that are specifically designed for brewing kombucha, as these will help ensure a successful fermentation process. In addition to the tools mentioned above, you’ll also need a few additional ingredients, including tea, sugar, and a SCOBY.
Select a Quality Kombucha Tea Blend
The next step in homebrewing kombucha is selecting a quality tea blend. There are several types of tea that can be used for kombucha, including green, black, white, oolong, and herbal. Each type of tea offers unique flavor notes, so experiment and find the blend that suits your taste preferences best. When selecting a tea blend, look for organic and fair trade options, as these will provide the highest quality and most flavorful kombucha.
When selecting a tea blend, it’s important to consider the caffeine content as well. For those who are sensitive to caffeine, opt for decaffeinated varieties. Additionally, some teas contain tannins, which can give kombucha a bitter flavor. To avoid this, select a tea blend that is low in tannins.
Learn Proper Sanitation and Sterilization Techniques
The importance of sanitation and sterilization cannot be overstated when it comes to brewing kombucha. All of the tools and supplies used in the brewing process must be properly cleaned and sanitized before use. This includes the fermentation vessel, spoon, funnel, and any other items that will come into contact with the kombucha. This will help ensure that the kombucha does not become contaminated with unwanted bacteria or mold.
To sanitize the tools and supplies, it’s best to use a food-grade sanitizer, such as Star San. Follow the directions on the package for proper usage. Additionally, boiling the tools and supplies in water for 10 minutes will also help to ensure a clean and sterile environment for brewing kombucha.
Prepare Sugar Water for the Fermentation Process
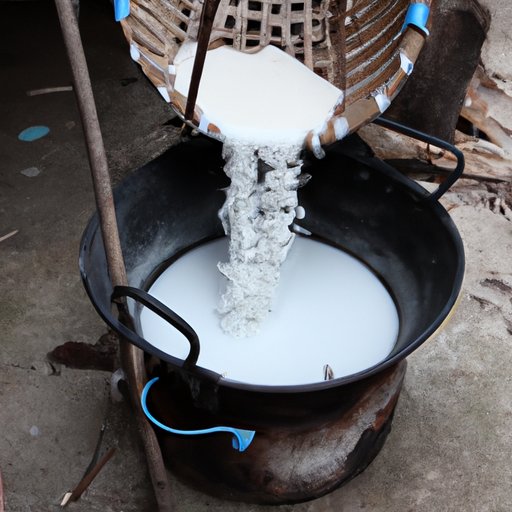
Once the tools and supplies have been properly sanitized, it’s time to prepare the sugar water for the fermentation process. This is done by combining sugar and water in a pot and bringing it to a boil. The ratio of sugar to water should be 1 cup of sugar to 4 cups of water. Once the sugar has dissolved, remove the pot from the heat and allow the mixture to cool to room temperature before adding it to the fermentation vessel.
It’s important to note that the temperature of the sugar water should not exceed 68°F (20°C) before adding the tea and SCOBY. If it’s too hot, it could kill the beneficial bacteria and yeast present in the SCOBY. Additionally, if the sugar water is too cold, it could slow down or even stop the fermentation process.
Make a SCOBY Starter Culture
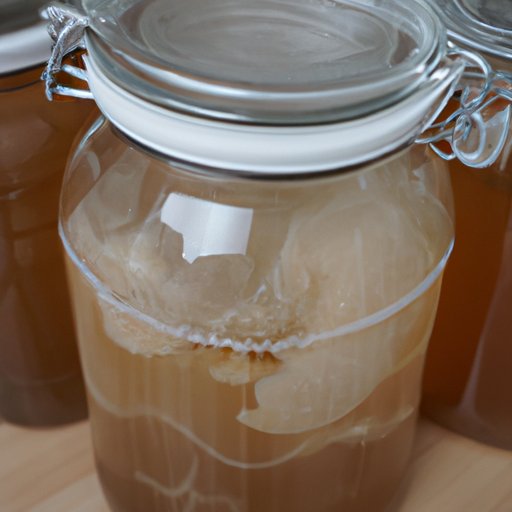
A SCOBY (Symbiotic Culture of Bacteria and Yeast) is a key component of kombucha brewing. It is a combination of beneficial bacteria and yeast that helps to kickstart the fermentation process. SCOBYs can be purchased online or from a homebrew supply store, or you can make your own starter culture using a bottle of store-bought kombucha.
To make a starter culture, simply pour a bottle of store-bought kombucha into a jar and cover it with a cloth secured with a rubber band. Allow the jar to sit at room temperature out of direct sunlight for 7-10 days. After this time, a thin layer of SCOBY should have formed on the surface of the kombucha. This can then be transferred to the fermentation vessel along with the tea and sugar water.
Monitor and Test the Kombucha During the Brewing Process
Once the kombucha has been added to the fermentation vessel, it’s important to monitor and test the kombucha regularly. This can be done by testing the pH levels with pH strips. The ideal range for kombucha is between 2.5 and 3.5. Additionally, checking for signs of fermentation, such as bubbles or foam, is also a good indicator that the kombucha is progressing correctly.
It’s important to keep an eye on the kombucha during the brewing process to ensure that it is fermenting properly and that there are no signs of contamination. If any off-flavors or smells are detected, discard the batch and start again.
Bottle the Finished Kombucha and Enjoy!
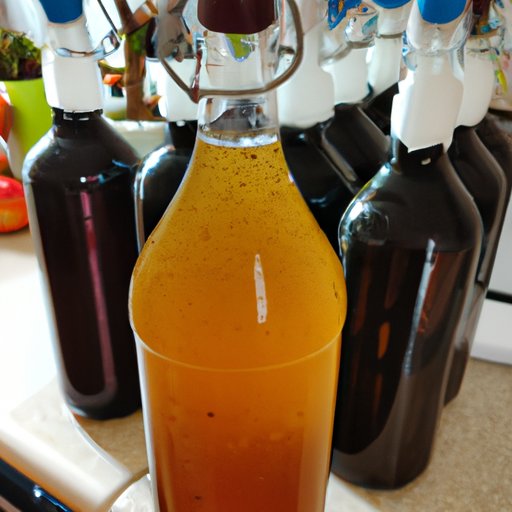
After the kombucha has fermented for 7-10 days, it’s time to bottle it. Begin by sterilizing bottles and caps with a food-grade sanitizer. Next, transfer the kombucha from the fermentation vessel to the bottles using a funnel. Be sure to leave at least two inches of headspace at the top of the bottles to allow for carbonation. Finally, seal the bottles with the sterilized caps and store them in a cool, dark place to allow the kombucha to carbonate.
Once the kombucha has carbonated, it’s ready to drink! Enjoy it plain or flavor it with fresh fruit or herbs. Store any unopened bottles in the refrigerator to prolong shelf life. Kombucha can be stored in the refrigerator for up to one month.
Conclusion
Brewing kombucha at home is a fun and rewarding experience. Not only is it a great way to save money and enjoy the health benefits of this probiotic beverage, but it’s also a great way to learn about the science behind fermentation. By following this step-by-step guide, you’ll be well on your way to becoming a homebrewing master.
(Note: Is this article not meeting your expectations? Do you have knowledge or insights to share? Unlock new opportunities and expand your reach by joining our authors team. Click Registration to join us and share your expertise with our readers.)