Introduction
If you’re new to video editing, learning how to use Filmora can seem like an intimidating task. The software is loaded with a variety of tools and features that can make the process of creating videos a lot more complex than it needs to be. That said, there are plenty of resources available to help you get started on the right foot.
Problem Statement
The problem is that many users don’t know how to start at the beginning in Filmora. They may feel overwhelmed by the range of options and not know where to begin.
Purpose of Article
The purpose of this article is to provide a step-by-step guide for getting started with Filmora. We’ll cover topics such as watching tutorial videos, reading the user guide, familiarizing yourself with the different editing features, and experimenting with transitions, effects, and titles.

Watch a Tutorial Video on How to Use Filmora
One of the best ways to learn how to use Filmora is to watch tutorial videos. There are plenty of tutorials available online that will walk you through the basics of the software, from setting up your project to adding effects and transitions. Watching a tutorial video is a great way to get comfortable with the interface and understand the various tools available to you.

Read the User Guide and Instructions from Wondershare
Another great resource for learning how to use Filmora is the official user guide and instructions from Wondershare, the company behind the software. This comprehensive guide covers everything from setting up your project to exporting your finished video. It also includes information about the various editing tools and features available in Filmora, as well as tips for getting the most out of the software.
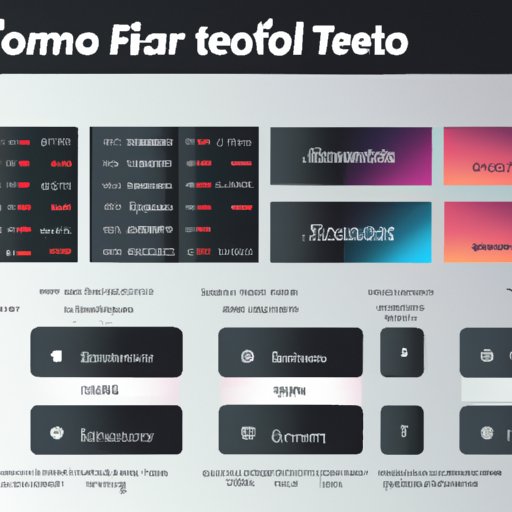
Familiarize Yourself with the Different Editing Tools in Filmora
Once you’ve watched a few tutorials and read the user guide, it’s time to start familiarizing yourself with the different editing tools available in Filmora. These tools include trimming, splitting, and merging clips; adding effects, transitions, and titles; and adjusting audio levels. Taking the time to become familiar with each of these tools will help you create better videos in less time.
Begin by Importing Your Media into the Timeline
When you’re ready to start creating your video, the first step is to import your media into the timeline. To do this, you’ll need to create a new project and then import your media files into the timeline. This is a straightforward process that just requires a few clicks.

Experiment with the Various Editing Features of Filmora
Once you’ve imported your media into the timeline, you can start experimenting with the various editing features available in Filmora. This includes trimming and splitting clips, adding effects and transitions, and inserting titles. Taking the time to explore these features will help you get a better understanding of how they work and how you can use them to enhance your videos.
Use Transitions, Effects, and Titles to Enhance Your Videos
Transitions, effects, and titles are powerful tools that can be used to add a professional touch to your videos. Transitions can be used to move smoothly between scenes, while effects can be used to add visual interest or emphasis to certain elements. Titles can be used to introduce a scene or provide additional information about the video.
Export Your Project When You’re Finished
When you’re finished editing your video, the next step is to export your project. Exporting your project is a simple process that just requires a few clicks. Once the export is complete, you will have a finished video that you can share with your friends or upload to social media.
Conclusion
Getting started with Filmora can seem like a daunting task, but with the right resources and guidance, you can quickly become comfortable with the software. Start by watching tutorial videos and reading the user guide to get a basic understanding of the software. Next, familiarize yourself with the different editing tools and features available in Filmora. Finally, experiment with transitions, effects, and titles to enhance your videos before exporting your project when you’re finished.
(Note: Is this article not meeting your expectations? Do you have knowledge or insights to share? Unlock new opportunities and expand your reach by joining our authors team. Click Registration to join us and share your expertise with our readers.)