Introduction
Spray paint art is an exciting way to bring life to a blank canvas or any other surface you choose. It’s easy to learn and gives you the freedom to be as creative as you want. This article will provide you with step-by-step instructions for creating your own spray paint art masterpiece.
Gather Your Supplies
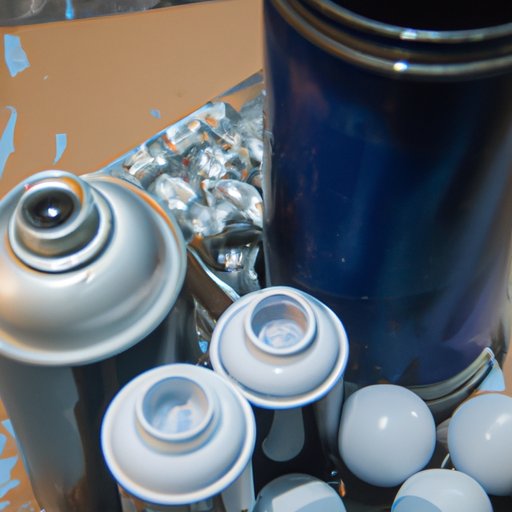
The first step in creating your art is to gather the necessary supplies. You’ll need several cans of spray paint, painter’s tape, newspaper, sandpaper, and a primer. Choose colors that will work best with the design you have in mind. When selecting spray paint, make sure to get paint specifically for outdoor use. This type of paint is designed to withstand the elements, so your artwork will last longer.
You can find all of these supplies at your local hardware store or online. If you’re looking for something more specialized, check out craft stores or specialty shops. These places often have a wider selection of colors and finishes than you would find elsewhere.
Prepare Your Surface
Before you start spraying, you need to prepare the surface you’re going to paint on. Start by cleaning the area with soap and water to remove any dirt or debris. Once it’s clean, use sandpaper to lightly scuff the surface. This helps the paint adhere better and ensures a smooth finish.
Prime The Surface
Once the surface is prepped, it’s time to prime. Primer helps the paint stick to the surface and also prevents it from chipping or peeling over time. Make sure to use a primer designed for the type of surface you’re painting on. For example, if you’re painting on wood, use a wood primer.
Apply the primer according to the directions on the can. It’s important to use even strokes and not to apply too much primer at once. Allow the primer to dry completely before moving on to the next step.
Mask Off Areas You Don’t Want to Paint
Once the primer is dry, you can start masking off areas you don’t want to paint. Use painter’s tape or newspaper to cover any areas you want to keep free of paint. Make sure the tape or paper is firmly attached and won’t come loose while you’re spraying. This is especially important if you’re painting on a vertical surface.
Practice on a Scrap Piece of Wood
Before you start spraying your artwork, it’s a good idea to practice on a scrap piece of wood. This allows you to get comfortable with the spray paint and different techniques, such as fading or layering. It also gives you a chance to test out different color combinations without wasting paint.
Begin Painting
Now you’re ready to start painting your artwork. Hold the can about 8 to 10 inches away from the surface and use long, even strokes. Allow each layer of paint to dry before adding another. This will help ensure an even coverage and prevent runs or drips.

Let It Dry and Add Finishing Touches
Once you’ve finished painting, let the artwork dry for at least 24 hours. This will give the paint enough time to cure and ensure that it won’t smudge or rub off. After the paint has dried, you can add additional details, such as shading or highlights. You can also use tape to create patterns or shapes.
Conclusion
Creating spray paint art can be a fun and rewarding experience. Just remember to gather your supplies, prepare the surface, prime it, mask off areas, practice on a scrap piece of wood, begin painting, let it dry, and add finishing touches. With these steps, you’ll be able to create beautiful works of art in no time.
(Note: Is this article not meeting your expectations? Do you have knowledge or insights to share? Unlock new opportunities and expand your reach by joining our authors team. Click Registration to join us and share your expertise with our readers.)
