Introduction
If you’re looking for a way to boost your car audio system without breaking the bank, then running a car amplifier at home may be the answer. This article provides a comprehensive guide on how to do just that. It covers everything from gathering the necessary supplies to tuning the amplifier settings. By following these simple steps, you can enjoy high-quality sound in the comfort of your own home.
Gather the Necessary Supplies
Before you start running your car amplifier at home, it’s important to make sure you have all the necessary supplies. This includes a power source, wiring and fuses, speakers, and a car stereo.
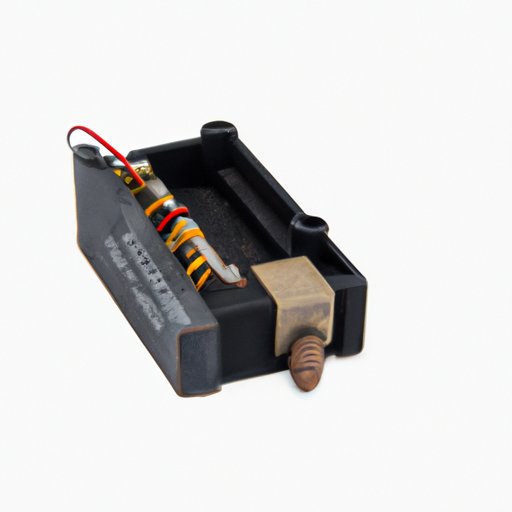
Power Source
The first thing you need to do is find a power source for your amplifier. The most common power source is a 12V battery, but other sources such as an AC outlet or DC converter can also be used. Make sure to use the correct type of power source for your amplifier, as using the wrong one could damage the system.
Wiring and Fuses
Once you’ve identified the power source, you’ll need to connect the wiring and install the fuses. Make sure to use the correct gauge of wiring and the right size of fuse for your system. This will ensure that your amplifier is properly protected against power surges.
Speakers
Next, you’ll need to choose the speakers for your system. There are many different types of speakers available, so take the time to research the options and find the ones that will best suit your needs. Once you’ve chosen the speakers, you’ll need to connect them to the amplifier.
Car Stereo
Finally, you’ll need to connect the amplifier to your car stereo. To do this, you’ll need an adapter that’s compatible with your car stereo. Once you have the adapter, you’ll be able to plug the amplifier into the car stereo and control the sound from the head unit.
Connect the Amplifier to a Power Source
Now that you have all the necessary supplies, you’re ready to connect the amplifier to a power source. Start by identifying the power source, then follow the instructions below to connect the amplifier.
Identifying the Power Source
The first step is to identify the power source for your amplifier. If you’re using a 12V battery, make sure to check the voltage rating before you begin. Also, make sure to use the correct type of power cable for your amplifier. Some amplifiers require special cables, so make sure to check the specifications before you proceed.
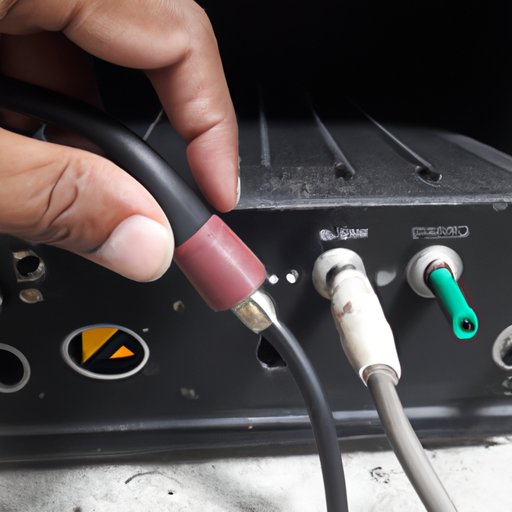
Connecting the Amplifier to the Power Source
Once you’ve identified the power source, you’re ready to connect the amplifier. Start by connecting the positive cable to the positive terminal on the amplifier, then connect the negative cable to the negative terminal. Make sure the connections are secure and that the cables are not touching each other. Once the cables are connected, you’re ready to move on to the next step.
Install the Wiring and Fuses
Now that the amplifier is connected to the power source, you’re ready to install the wiring and fuses. Follow the steps below to complete this step.
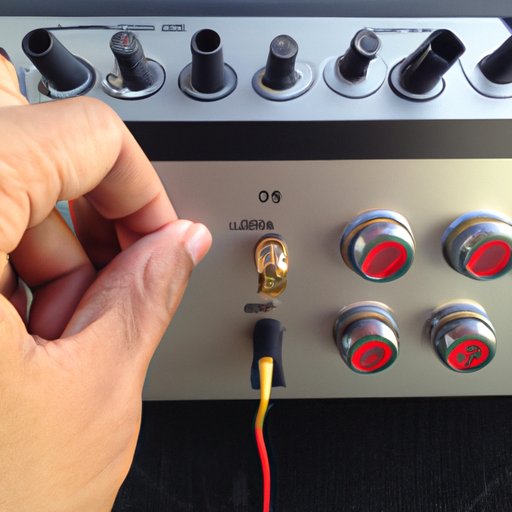
Connecting the Wiring
Start by connecting the wiring for the amplifier. Make sure to use the correct gauge of wiring for your system. If you’re using a 12V battery, make sure to use 12 gauge wire. Once the wiring is connected, you’re ready to move on to the next step.
Installing the Fuses
The next step is to install the fuses. Make sure to use the correct size of fuse for your system. If you’re using a 12V battery, make sure to use a 20 amp fuse. Once the fuses are installed, you’re ready to move on to the next step.
Connect the Amplifier to the Speakers
Now that the wiring and fuses are installed, you’re ready to connect the amplifier to the speakers. Follow the steps below to complete this step.
Choosing the Right Cables
The first step is to choose the right cables for your system. Make sure to use cables that are compatible with your speakers and amplifier. Once you’ve chosen the cables, you’re ready to move on to the next step.
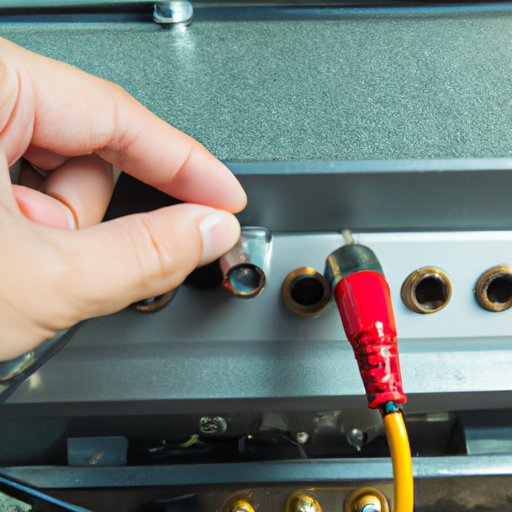
Connecting the Cables
Now that you have the right cables, you’re ready to connect them to the amplifier and speakers. Start by connecting one end of the cable to the amplifier, then connect the other end to the speaker. Make sure the connections are secure and that the cables are not touching each other. Once the cables are connected, you’re ready to move on to the next step.
Connect the Amplifier to the Car Stereo
Now that the amplifier is connected to the speakers, you’re ready to connect it to the car stereo. Follow the steps below to complete this step.
Using an Adapter
The first step is to use an adapter to connect the amplifier to the car stereo. Make sure to use an adapter that is compatible with your car stereo. Once you have the adapter, you’re ready to move on to the next step.
Connecting the Amplifier
Now that you have the adapter, you’re ready to connect the amplifier to the car stereo. Start by plugging the adapter into the car stereo, then plug the amplifier into the adapter. Make sure the connections are secure and that the cables are not touching each other. Once the amplifier is connected, you’re ready to move on to the next step.
Test the System Volume
Now that the amplifier is connected to the car stereo, you’re ready to test the system volume. Follow the steps below to complete this step.
Setting the Volume
The first step is to set the volume on the car stereo. Start by setting the volume to a low level, then gradually increase it until you reach the desired level. Make sure to keep the volume at a comfortable level so that you don’t damage your speakers or ears.
Testing the Volume
Once you’ve set the volume, you’re ready to test the system. Start by playing some music and listening to the sound quality. Make sure the sound is clear and that the bass and treble levels are balanced. If the sound is distorted or too loud, turn the volume down and try again.
Tune the Amplifier Settings
Once you’ve tested the system volume, you’re ready to tune the amplifier settings. Follow the steps below to complete this step.
Adjusting the Bass Levels
The first step is to adjust the bass levels. Start by turning the bass knob on the amplifier to the desired level. Make sure to keep the bass at a reasonable level so that it doesn’t overpower the other frequencies.
Adjusting the Treble Levels
Once you’ve adjusted the bass levels, you’re ready to adjust the treble levels. Start by turning the treble knob on the amplifier to the desired level. Make sure to keep the treble at a reasonable level so that it doesn’t overpower the other frequencies.
Conclusion
Running a car amplifier at home is a great way to boost your car audio system without breaking the bank. By following the steps outlined in this article, you can easily connect the necessary supplies, install wiring and fuses, adjust the settings, and test the system volume to get the best sound quality. With a little bit of effort, you can enjoy high-quality sound in the comfort of your own home.
(Note: Is this article not meeting your expectations? Do you have knowledge or insights to share? Unlock new opportunities and expand your reach by joining our authors team. Click Registration to join us and share your expertise with our readers.)