Introduction
A well pump is an essential component of any home’s water system, allowing for easy access to clean drinking water. When a well pump breaks down or needs to be replaced, it can be a stressful process, especially if you don’t know what steps are necessary. This article covers the proper procedure for replacing a well pump, as well as the necessary tools and safety precautions.
Research the Proper Well Pump Replacement Procedure
Before beginning the replacement process, it is important to do research and understand the proper procedure. First, determine the type and size of the new pump that will be installed. Depending on the depth of the well, you may need to purchase either a shallow well pump or a deep well pump. Additionally, it is important to check local regulations for any restrictions concerning the installation of new pumps.
If you are unfamiliar with the process of replacing a well pump, consider reaching out to a professional for assistance. As noted by the National Ground Water Association, “Lack of experience and knowledge of the components involved in a well system can lead to costly repairs or even complete replacement of the system.”

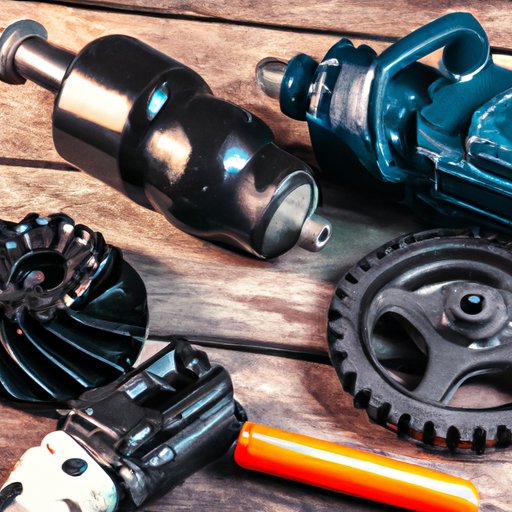
Gather Necessary Tools and Supplies
Once you have researched the proper procedure, gather all the necessary tools and materials needed for the job. This list should include a wrench, screwdriver, pipe wrench, hoses, clamps, PVC glue, and a new well pump. It may also be helpful to have a second person available to assist with the installation.

Shut off Power to the Pump
Before proceeding with the removal of the old pump, shut off the power to the pump. Locate the breaker box and turn off the power switch associated with the pump. This is an important safety precaution to ensure no one is injured during the installation process.

Disconnect Pipes from Existing Pump
Next, shut off the water supply before disconnecting the pipes from the existing pump. Use a wrench to carefully remove the pipes and set them aside. Be sure to label each pipe so you can easily reconnect them when installing the new pump.
Remove Existing Pump
When the pipes have been disconnected, unscrew the bolts holding the pump in place. Carefully lift the old pump out of the hole and set it aside. Make sure to dispose of it properly.
Install New Pump
Place the new pump in the hole and bolt it securely in place. Once the new pump is secure, reconnect the pipes and turn on the power switch.
Conclusion
Replacing a well pump can be a daunting task, but it doesn’t have to be. With the right research and tools, the process can be completed safely and efficiently. Be sure to follow the proper procedure and take all necessary safety precautions. By following these steps, you can successfully replace your well pump and get back to enjoying clean, safe drinking water.
(Note: Is this article not meeting your expectations? Do you have knowledge or insights to share? Unlock new opportunities and expand your reach by joining our authors team. Click Registration to join us and share your expertise with our readers.)