Introduction
A photography box is a type of light box that allows photographers to take pictures with precise lighting and minimal shadows. This type of box is ideal for taking photos of small objects, such as jewelry or watches, as well as larger items like furniture and clothing. By using a photography box, you can create professional-looking images without spending a fortune on expensive equipment.
The benefits of having a photography box are numerous. For one, it eliminates the need to set up multiple lights and reflectors, which can be cumbersome and time consuming. Additionally, the box helps to reduce reflections off of reflective surfaces and creates an even light source, resulting in better quality images. Finally, a photography box is easy to transport and store, making it ideal for photographers on the go.
Step-by-Step Guide to Building a DIY Photography Box
Building your own photography box is a great way to save money and have a unique piece of equipment. Here’s a step-by-step guide on how to build a DIY photography box:
Gather Necessary Materials
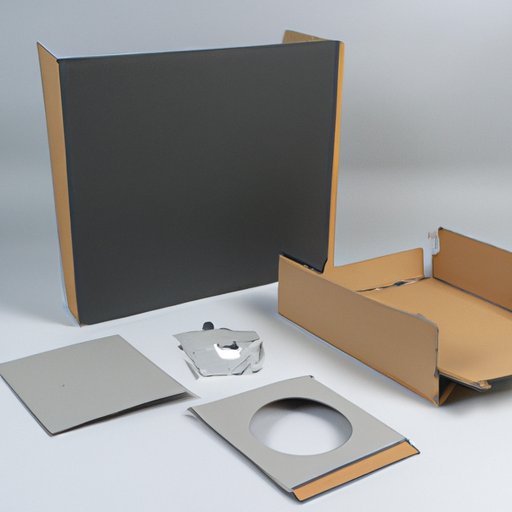
Before you begin building your photography box, you’ll need to gather all of the necessary materials. You’ll need white foam board, a utility knife, duct tape, scissors, and a hot glue gun. Depending on the size and design of your box, you may also need additional materials, such as cardboard, fabric, or Velcro.
Cut and Assemble the Pieces
Once you have all of the materials, you’ll need to cut and assemble the pieces. Begin by measuring and cutting the foam board into the desired shape and size. Once all of the pieces are cut, use the duct tape to secure them together. Be sure to leave some room for the door and any other features you plan to add.
Assemble the Box
Next, you’ll need to assemble the box. Start by taping the sides together, making sure to leave enough space for the door. Once the box is assembled, use the hot glue gun to attach any additional features, such as a handle or hinges. Lastly, cover the box with fabric or cardboard for added insulation.
Add Any Desired Features
Finally, you can add any desired features to your box. This could include a door, a handle, hinges, a light diffuser, or a stand. For the door, you can use a piece of cardboard or fabric and attach it to the box using the hot glue gun. If you want to add a light diffuser, you can use a piece of white paper or fabric and attach it to the inside of the box using tape.

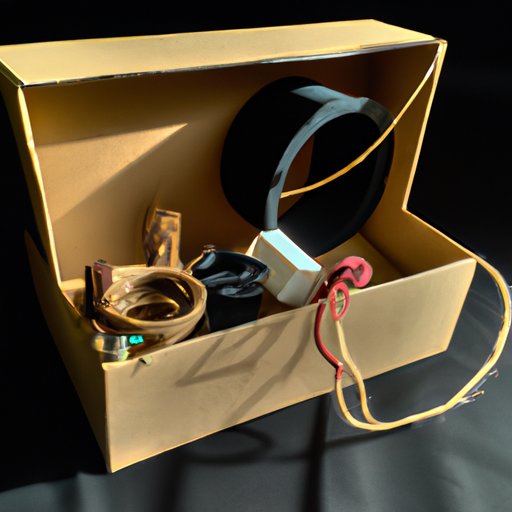
How to Create an Inexpensive Photography Box from Everyday Materials
If you’re looking for a more budget-friendly option, you can create a photography box from everyday materials. First, identify suitable materials, such as cardboard boxes, plastic containers, or old furniture. Then, construct the box by cutting the pieces and assembling them with tape or glue. Finally, add any desired features, such as a door or light diffuser.

Crafting a Professional Photography Box from Scratch
For those who want to create a truly professional photography box, you can craft a box from scratch. Begin by gathering all of the necessary materials, such as foam board, duct tape, scissors, and a hot glue gun. Next, design the box and cut the pieces according to your design. Then, assemble the pieces and add any desired features, such as a door or light diffuser.
Utilizing Everyday Objects to Construct a Photography Box on a Budget
If you’re looking for an even more cost-effective option, you can utilize everyday objects to construct a photography box on a budget. Start by identifying suitable objects, such as a cardboard box or plastic container. Then, transform the object into a box by cutting and assembling the pieces. Finally, add any desired features, such as a door or light diffuser.
Transform a Standard Storage Container into a Custom Photography Box
Another great way to create a photography box on a budget is to transform a standard storage container into a custom photography box. Start by selecting a storage container that is the right size and shape for your needs. Then, modify the container by cutting and assembling the pieces. Finally, add any desired features, such as a door or light diffuser.
Conclusion
Creating a photography box from scratch is a great way to save money and have a unique piece of equipment. This article has provided an in-depth guide on how to make a photography box, from gathering the necessary materials to adding any desired features. Additionally, it has included tips on creating an inexpensive photography box from everyday materials and transforming a standard storage container into a custom photography box. With the right materials and a bit of creativity, you can easily create a photography box that will help you take professional-looking images.
(Note: Is this article not meeting your expectations? Do you have knowledge or insights to share? Unlock new opportunities and expand your reach by joining our authors team. Click Registration to join us and share your expertise with our readers.)