Introduction
Jumper cables are essential tools that every driver should have in their car. They are used to jump-start a car when the battery is dead. Making your own jumper cables is not only cost-effective but also relatively easy. This article will provide a step-by-step guide on how to make jumper cables for car at home.
Step-by-Step Guide on How to Make Jumper Cables for Car at Home
The first step is to gather all of the necessary materials. You will need two sets of wire clamps, electrical tape, alligator clips, and thick gauge wire. The wire should be long enough to reach from one car to another.
Once you have gathered all of the materials, the next step is to connect the clamps to the wires. Take the two sets of wire clamps and attach them to either end of the wire. Make sure the clamps are securely attached.
Next, attach the alligator clips to the wires. Alligator clips are small metal clips with a spring-loaded mechanism. Connect one end of the alligator clip to the end of the wire and the other end to the clamp. Make sure the alligator clips are firmly attached.
Finally, secure the wires together by wrapping electrical tape around them. This will ensure that the connections are secure and will prevent any shorts or sparks from occurring.

Create Jumper Cables for Your Car with this DIY Tutorial
When creating jumper cables for your car, it is important to select the correct gauge of wire. The thicker the wire, the better it will be able to conduct electricity. The most common gauges of wire for jumper cables are 8-gauge and 10-gauge. However, if your car has an older battery, then you may want to use a 6-gauge wire.
In addition to selecting the correct gauge of wire, you should also choose the right length of wire. If the wire is too short, it won’t be able to reach both vehicles. For safety reasons, it is best to choose a wire that is at least 15 feet long.
Once you have chosen the correct gauge and length of wire, the next step is to assemble the jumper cables. Start by connecting the clamps to either end of the wire. Then, attach the alligator clips to the wires, making sure they are securely connected. Finally, wrap electrical tape around the wires to secure them together.
Crafting Jumper Cables for Your Car: A Comprehensive Guide
If you are looking for a comprehensive guide on how to craft jumper cables for your car, then look no further. The first step is to measure and cut the wire to the desired length. Make sure the wire is long enough to reach from one car to another.
Once the wire has been cut, the next step is to strip the insulation from both ends of the wire. This will expose the bare metal, which will help ensure a good connection between the clamps and the alligator clips.
The next step is to connect the clamps to the wires. Take the two sets of wire clamps and attach them to either end of the wire. Make sure the clamps are securely attached.
Next, attach the alligator clips to the wires. Alligator clips are small metal clips with a spring-loaded mechanism. Connect one end of the alligator clip to the end of the wire and the other end to the clamp. Make sure the alligator clips are firmly attached.
Finally, secure the wires together by wrapping electrical tape around them. This will ensure that the connections are secure and will prevent any shorts or sparks from occurring.

How to Assemble Jumper Cables for Your Vehicle in a Few Easy Steps
Assembling jumper cables for your car can be done in just a few easy steps. The first step is to select the appropriate clamps. Select a pair of clamps that are designed for automotive use and are large enough to fit around the terminals on your battery.
Once you have selected the clamps, the next step is to attach the alligator clips to the wires. Alligator clips are small metal clips with a spring-loaded mechanism. Connect one end of the alligator clip to the end of the wire and the other end to the clamp. Make sure the alligator clips are firmly attached.
Finally, secure the wires together by wrapping electrical tape around them. This will ensure that the connections are secure and will prevent any shorts or sparks from occurring.

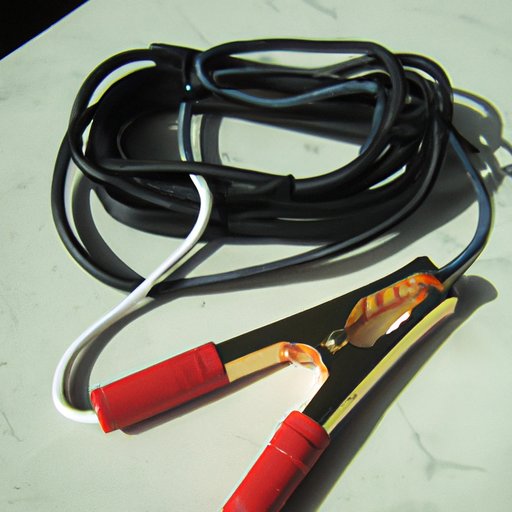
Constructing Jumper Cables for Your Car: An Illustrated Tutorial
If you are looking for an illustrated tutorial on how to construct jumper cables for your car, then look no further. The first step is to gather the necessary materials. You will need two sets of wire clamps, electrical tape, alligator clips, and thick gauge wire. The wire should be long enough to reach from one car to another.
Once you have gathered all of the materials, the next step is to measure and cut the wire to the desired length. Make sure the wire is long enough to reach from one car to another.
Next, strip the insulation from both ends of the wire. This will expose the bare metal, which will help ensure a good connection between the clamps and the alligator clips.
The next step is to connect the clamps to the wires. Take the two sets of wire clamps and attach them to either end of the wire. Make sure the clamps are securely attached.
After that, attach the alligator clips to the wires. Alligator clips are small metal clips with a spring-loaded mechanism. Connect one end of the alligator clip to the end of the wire and the other end to the clamp. Make sure the alligator clips are firmly attached.
Finally, secure the wires together by wrapping electrical tape around them. This will ensure that the connections are secure and will prevent any shorts or sparks from occurring.
Conclusion
Making jumper cables for your car is not as difficult as it may seem. With the right materials and a little bit of know-how, you can easily create your own jumper cables for car at home. This article provided a step-by-step guide on how to make jumper cables for car at home, as well as a comprehensive tutorial and an illustrated tutorial.
(Note: Is this article not meeting your expectations? Do you have knowledge or insights to share? Unlock new opportunities and expand your reach by joining our authors team. Click Registration to join us and share your expertise with our readers.)