Introduction
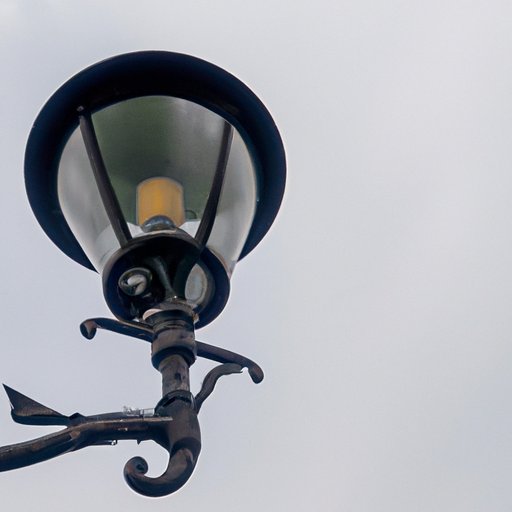
Making an old-fashioned street lamp is a fun project that can add a unique touch to any outdoor area. Whether you’re looking to spruce up your garden or give your front porch a bit of extra character, a vintage street lamp can be the perfect addition. This guide will provide an overview of the project, as well as a step-by-step guide to help you create your own old-fashioned street lamp.
Benefits of Making an Old-Fashioned Street Lamp
A vintage street lamp can provide a unique look to any outdoor area, adding a classic touch that can’t be replicated with modern lighting fixtures. These lamps can also provide a much-needed source of light in dark areas, creating a safe and inviting atmosphere. Additionally, building your own old-fashioned street lamp can be a great way to save money compared to purchasing a pre-made one.
Step-by-Step Guide to Creating an Old-Fashioned Street Lamp
Before you begin, it’s important to gather all the necessary materials and tools for the project. You’ll need a base, wiring, a lampshade, and any other accessories you’d like to include. Once you have all the materials ready, you can begin constructing your old-fashioned street lamp.
Gather Materials and Tools
The first step in making an old-fashioned street lamp is to gather the necessary materials and tools. You’ll need a base, such as a post or a stand, wiring, a lampshade, and any other accessories you’d like to include. Make sure to double-check that you have all the supplies you need before you start the project.
Construct the Base
Once you have all the materials and tools ready, you can begin constructing the base of the lamp. Depending on the type of base you’re using, you may need to cut the wood or metal to size, drill holes, and attach the pieces together. If you’re using a post, you’ll need to secure it in the ground as well.
Install the Wiring
After constructing the base, you’ll need to install the wiring for the lamp. This step requires a bit of electrical knowledge, so if you’re not comfortable working with wiring, it’s best to leave this part to a professional electrician. Once the wiring is installed, you can begin attaching the lampshade.
Attach the Lampshade
Attaching the lampshade is relatively simple. All you need to do is fit the shade over the wiring and secure it with screws or clips, depending on the type of lampshade you’re using. Make sure the shade is securely attached before moving on to the next step.
Add Finishing Touches
Once the lampshade is in place, you can add any finishing touches you’d like. This could include a switch, a timer, or decorative elements such as hanging chains or beads. When you’re happy with the look of the lamp, you can plug it in and enjoy your new old-fashioned street lamp.
Conclusion
Making an old-fashioned street lamp is a fun and rewarding project that can add a unique touch to any outdoor space. With the right materials and tools, you can build your own vintage street lamp that will illuminate your street for years to come. Follow the steps in this guide to create your own timeless piece.
(Note: Is this article not meeting your expectations? Do you have knowledge or insights to share? Unlock new opportunities and expand your reach by joining our authors team. Click Registration to join us and share your expertise with our readers.)