Introduction
Fitted sheets are an essential part of any bedroom set. But when it comes to folding them, many people struggle. After all, their elasticized corners make them tricky to fold and keep looking neat. While folding a fitted sheet may seem like a daunting task, it doesn’t have to be. With the right instructions, you can learn how to fold a fitted sheet quickly and easily.
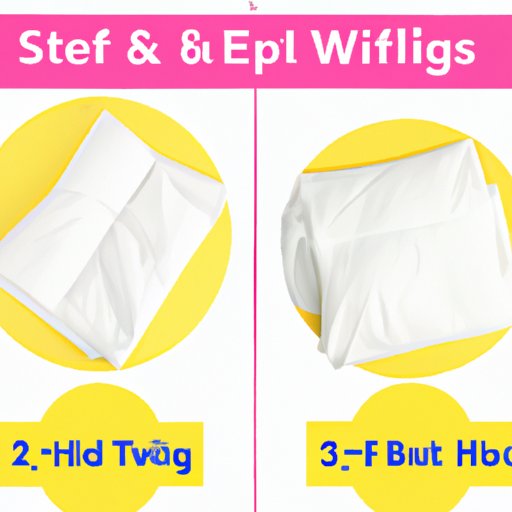
Step-by-Step Visual Guide
The best way to learn how to fold a fitted sheet is by following a step-by-step visual guide. Here’s what you need to do:
1. Start by laying the sheet flat on a surface with the elasticized corners facing up.
2. Take the two closest corners and tuck them into one another, forming a triangle shape.
3. Take the remaining two corners and tuck them into the triangle as well.
4. Now, take the top of the sheet and fold it over the triangle.
5. Next, take the bottom of the sheet and fold it up towards the triangle.
6. Finally, tuck the excess fabric in and you should have a neat, folded fitted sheet.
Here are some tips and tricks that will help you get the best results:
• Make sure to tuck the corners into each other tightly. This will help keep the sheet from coming undone when you’re finished.
• Use a flat surface such as a bed or table for best results. This will ensure that your folds stay nice and crisp.
• Don’t be afraid to practice. The more you practice, the better you’ll get at folding a fitted sheet.
Video Tutorial
If you prefer to watch a video tutorial, check out this helpful one from Real Simple: How to Fold a Fitted Sheet. In the video, the host demonstrates each step of the process and provides helpful tips along the way. Some of the main points from the video include:
• Start by laying the sheet flat on a surface with the elasticized corners facing up.
• Take the two closest corners and tuck them into one another, forming a triangle shape.
• Take the remaining two corners and tuck them into the triangle as well.
• Take the top of the sheet and fold it over the triangle.
• Take the bottom of the sheet and fold it up towards the triangle.
• Finally, tuck the excess fabric in and you should have a neat, folded fitted sheet.
Written Description with Photos
If you’d prefer to read a written description of the steps, here’s a detailed explanation with accompanying photos:
1. Start by laying the sheet flat on a surface with the elasticized corners facing up (see Figure 1).

2. Take the two closest corners and tuck them into one another, forming a triangle shape (see Figure 2).

3. Take the remaining two corners and tuck them into the triangle as well (see Figure 3).

4. Now, take the top of the sheet and fold it over the triangle (see Figure 4).

5. Next, take the bottom of the sheet and fold it up towards the triangle (see Figure 5).

6. Finally, tuck the excess fabric in and you should have a neat, folded fitted sheet (see Figure 6).

Folding Tips & Tricks
Here are some tips and tricks to help make the process easier:
• Make sure to tuck the corners into each other tightly. This will help keep the sheet from coming undone when you’re finished.
• Use a flat surface such as a bed or table for best results. This will ensure that your folds stay nice and crisp.
• Don’t be afraid to practice. The more you practice, the better you’ll get at folding a fitted sheet.
• Avoid tugging or pulling on the sheet too much. This can cause rips or tears in the fabric.
Comparison of Different Folding Techniques
There are several different ways to fold a fitted sheet, each with its own advantages and disadvantages. For example, some people prefer to fold the sheet in half lengthwise before tucking in the corners, while others prefer to start with the corners first. Some also find it helpful to turn the sheet inside out before starting. It’s important to experiment with different techniques to find out which one works best for you.
Conclusion
Folding a fitted sheet is a tricky task, but with the right instructions and a bit of practice, you can learn how to do it quickly and easily. Remember to start by laying the sheet flat on a surface with the elasticized corners facing up, then tuck the corners into each other tightly to form a triangle shape. Take the top and bottom of the sheet and fold them over the triangle, and finally tuck the excess fabric in. Try different techniques and use tips and tricks to make the process easier.
(Note: Is this article not meeting your expectations? Do you have knowledge or insights to share? Unlock new opportunities and expand your reach by joining our authors team. Click Registration to join us and share your expertise with our readers.)