Introduction
Editing photos to look like film is a popular technique among photographers of all skill levels. The ability to create images that emulate the look of traditional film photography can be an important part of a photographer’s creative process. By understanding how to use various photo editing tools and techniques, it is possible to achieve a film-like look in any digital image.
In this article, we will explore the different methods for editing photos to look like film. We will discuss the use of film emulation presets, matte filters, color temperature and tint settings, contrast and brightness levels, grain overlays, and sharpening and noise reduction settings. With this information, you’ll be able to create beautiful, film-like images with your digital photos.
Utilize Film Emulation Presets
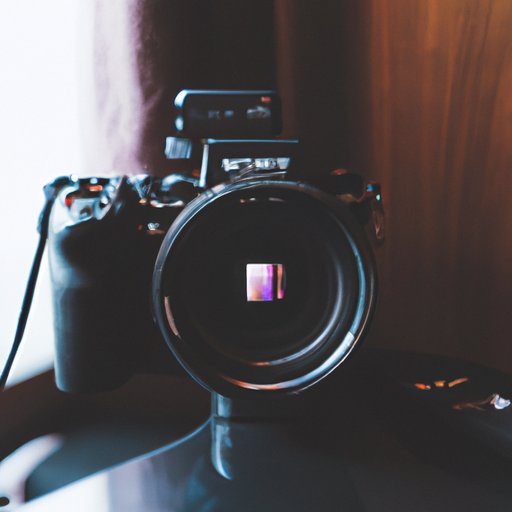
One of the easiest ways to edit photos to look like film is to utilize film emulation presets. These are pre-made sets of adjustments designed to emulate the look of different types of film. They can be found in many photo editing programs, such as Adobe Lightroom and Photoshop.
Using film emulation presets is a great way to quickly add a film-like look to your images. All you have to do is select the preset that best matches the type of film you want to emulate and then adjust the settings to your liking. It’s a fast and easy way to get a film-like look without having to manually adjust each setting.

Use a Matte Filter to Create a Faded Look
Another way to edit photos to look like film is to use a matte filter. A matte filter is a special effect filter that adds a faded, washed-out look to an image. This type of filter is often used to create a vintage or retro feel, and it can also be used to give an image a film-like appearance.
To use a matte filter to create a film-like look, start by selecting the filter in your photo editing program. Then, adjust the opacity of the filter until you achieve the desired level of fade. You may also want to experiment with different blend modes to find the one that gives you the best results.
Adjust Color Temperature and Tint Settings
Color temperature and tint settings are two important elements of creating a film-like look in your photos. Color temperature refers to the overall “warmth” or “coolness” of the image, while tint adjusts the amount of green or magenta in the photo.
When adjusting these settings for a film-like look, it’s important to remember that film stocks tend to have a warmer color temperature than digital cameras. To replicate this look, try increasing the color temperature slightly and adding a bit of magenta tint. Experiment with different settings until you find the combination that looks best for your photo.
Adjust Contrast and Brightness Levels
Contrast and brightness levels are two more important settings when it comes to achieving a film-like look. Increasing the contrast will make the bright areas of the image brighter and the dark areas darker, while increasing the brightness will lighten the entire image.
When adjusting these settings, it’s important to keep in mind that film stocks tend to have higher contrast and lower brightness than digital cameras. To replicate this look, try increasing the contrast and decreasing the brightness. However, be sure to not go overboard with these adjustments, as too much contrast or brightness can ruin the film-like effect.
Add a Grain Overlay for Authenticity
Adding a grain overlay is another great way to give your photos a film-like look. Grain overlays are images that contain small particles of black and white pixels, which simulate the grainy texture of traditional film stocks. When applied to an image, they can give it a more authentic film-like appearance.
To add a grain overlay to your photos, simply select the grain overlay you want to use and adjust the opacity until you achieve the desired effect. You can also experiment with different blend modes to find the one that gives you the best results.
Tweak Sharpening and Noise Reduction Settings
Finally, it’s important to tweak the sharpening and noise reduction settings of your photos to achieve a film-like look. Sharpening increases the clarity of an image, while noise reduction reduces random patterns of pixels known as “noise”. Both of these settings can affect the overall look of an image, so it’s important to adjust them carefully.
When tweaking these settings for a film-like look, it’s important to remember that film stocks tend to have less sharpening and more noise reduction than digital cameras. To replicate this look, try decreasing the sharpening and increasing the noise reduction. Again, be sure to not go overboard with these adjustments, as too much sharpening or noise reduction can ruin the film-like effect.
Conclusion
Editing photos to look like film is a great way to add a unique, vintage feel to your photos. By utilizing film emulation presets, matte filters, color temperature and tint settings, contrast and brightness levels, grain overlays, and sharpening and noise reduction settings, you can easily achieve a film-like look in any digital image.
By following the techniques outlined in this article, you’ll be able to create beautiful, film-like images with your digital photos.
(Note: Is this article not meeting your expectations? Do you have knowledge or insights to share? Unlock new opportunities and expand your reach by joining our authors team. Click Registration to join us and share your expertise with our readers.)