Introduction
Checking the well water level is essential for ensuring that your well is functioning properly. It involves measuring the distance from the surface to the water line, checking for changes in pressure, inspecting the well cover, looking for signs of erosion or saturation, and testing the water quality. In this article, we’ll discuss each of these steps in more detail.
Use a Water Level Meter
Using a water level meter is one of the best ways to check the well water level. This device is simple to use and can provide accurate readings. The benefits of using a water level meter include being able to measure the water level quickly and easily, as well as being able to monitor fluctuations in the water level over time.
To use a water level meter, simply attach it to the end of a rope and lower it into the well. Once it reaches the bottom, it will start to measure the depth of the water. To get an accurate reading, you’ll need to make sure that the rope is free of knots and tangles.

Measure the Distance from the Surface to the Water Line
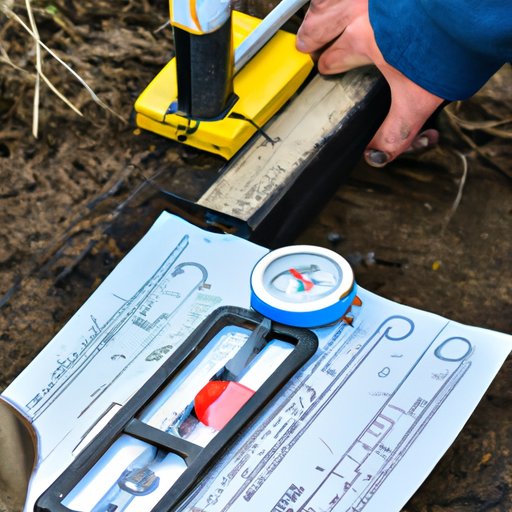
Measuring the distance from the surface to the water line is another important step in checking the well water level. This measurement is important because it can help you determine if the well is producing enough water or if there is an issue with the pump. It can also be used to detect any changes in the water level over time.
To measure the distance from the surface to the water line, you’ll need to use a measuring tape and mark the water line on the outside of the well. Then, measure the distance from the top of the well to the marked water line. This measurement should be taken at least once a year to ensure that the well is functioning properly.
Check for Changes in Pressure
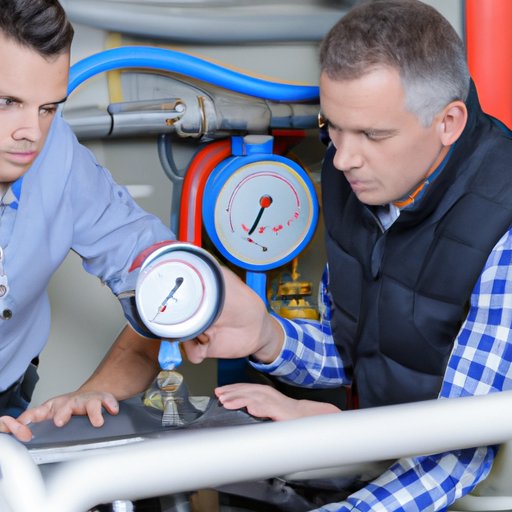
Checking for changes in pressure is another important step in checking the well water level. If the pressure is too low, it could indicate that the pump isn’t working correctly or that there’s a leak in the system. Conversely, if the pressure is too high, it could indicate that the pump is overworking or that there’s a blockage in the system.
To check for changes in pressure, you’ll need to use a pressure gauge. Attach the pressure gauge to the end of a hose and then turn on the pump. Make sure to take note of the pressure readings before and after the pump is turned on. If there is a significant difference between the two readings, it could indicate an issue with the pump or the system.
Inspect the Well Cover
Inspecting the well cover is another important step in checking the well water level. This is because the well cover can become damaged over time, which can lead to leaks or other issues. Additionally, debris can accumulate in the well, which can lead to a decrease in the water level.
To inspect the well cover, you’ll need to remove the cover and look for any signs of damage or debris. If there is any damage, you’ll need to replace the cover. You should also check to make sure that the cover is securely fastened to the well.
Look for Signs of Erosion or Saturation
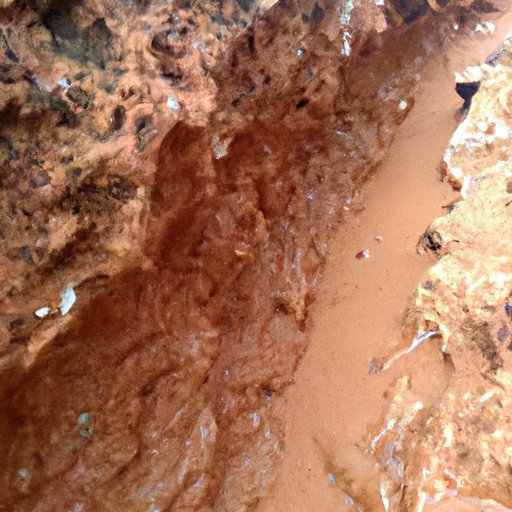
Another important step in checking the well water level is to look for signs of erosion or saturation. Erosion occurs when the soil around the well starts to erode away, which can lead to a decrease in the water level. Saturation occurs when the soil around the well becomes oversaturated, which can lead to an increase in the water level.
To look for signs of erosion or saturation, you’ll need to inspect the area around the well for any visible signs of erosion or saturation. You should also check for any areas where the soil has been washed away or appears to be overly wet.
Test the Water Quality
Testing the water quality is another important step in checking the well water level. This is because contaminants in the water can lead to health problems and may also affect the taste and odor of the water. Additionally, testing the water quality can help identify any potential problems with the well or the pump.
To test the water quality, you’ll need to collect a sample of the water and have it tested by a qualified laboratory. Make sure to follow all safety precautions when collecting the sample and refer to the laboratory’s instructions for submitting the sample.
Hire a Professional Well Technician
Finally, it’s always a good idea to hire a professional well technician to check the well water level. A qualified technician will be able to conduct a thorough inspection of the well and pump system and provide advice on any necessary repairs or maintenance. They can also provide valuable insight into the overall health of the well.
To find a qualified professional, you can search online for local well technicians or ask for recommendations from friends and family. Be sure to do some research on the technician’s qualifications and experience before hiring them.
Conclusion
Checking the well water level is essential for ensuring that your well is functioning properly. It involves measuring the distance from the surface to the water line, checking for changes in pressure, inspecting the well cover, looking for signs of erosion or saturation, testing the water quality, and hiring a professional well technician. By following these steps, you can ensure that your well is in good condition and operating safely.
(Note: Is this article not meeting your expectations? Do you have knowledge or insights to share? Unlock new opportunities and expand your reach by joining our authors team. Click Registration to join us and share your expertise with our readers.)