Introduction
Fitbits are a great way to keep track of your daily activities and stay motivated to reach your health and fitness goals. But as time goes on, Fitbit bands can get worn out or become outdated. Fortunately, changing the band is a relatively simple process that anyone can do in a few minutes.
This article will provide a comprehensive guide on how to change a Fitbit band. We’ll go over the necessary supplies and steps involved, as well as helpful tips and tricks for making the replacement quick and easy.
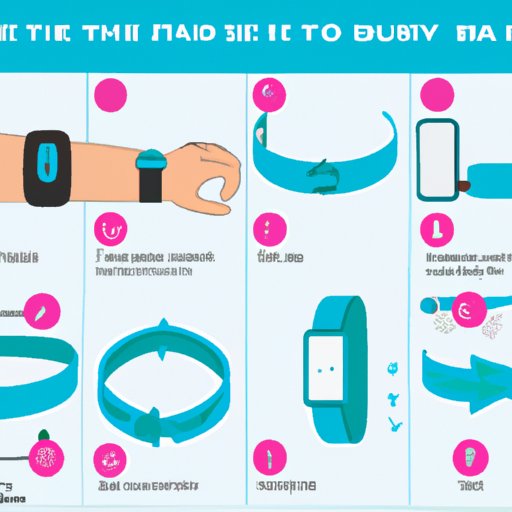
Step-by-Step Guide to Replacing a Fitbit Band
The first step in replacing a Fitbit band is to prepare for the change. This includes gathering all the necessary supplies, such as a small screwdriver, tweezers, and the new band.
Once the supplies are ready, you can begin to remove the old band. Start by using the screwdriver to loosen the screws at the back of the device. Once the screws are removed, use the tweezers to carefully pry off the old band.
Once the old band is removed, it’s time to install the new one. Start by lining up the holes of the new band with the pins of the device. Then, slowly press down on the band until it clicks into place. Finally, use the screwdriver to tighten the screws at the back of the device.
How to Quickly and Easily Change Your Fitbit Band
Changing a Fitbit band doesn’t have to be a difficult or time-consuming process. With the right tools and a few simple steps, you can quickly and easily swap out your band in just a few minutes.
The key to making the process easier is identifying the right tools for the job. For most models, a small screwdriver and tweezers will suffice. Using these tools, you can easily remove the old band and install the new one.
Once you have the necessary supplies, the actual process of replacing the band is fairly straightforward. All you need to do is loosen the screws with the screwdriver, pry off the old band with the tweezers, line up the new band with the pins, and then tighten the screws again.

DIY Tutorial on Swapping Out Fitbit Bands
If you’re looking for a more detailed guide on how to change a Fitbit band, there are plenty of DIY tutorials available online. These tutorials typically include a list of supplies needed for the job, as well as detailed instructions on each step of the process.
When following a DIY tutorial, it’s important to make sure you have all the necessary supplies before you start. This includes a small screwdriver, tweezers, and the new band. Without these items, the process will be much more difficult and time consuming.

Changing Your Fitbit Band in 3 Simple Steps
Replacing a Fitbit band is actually quite simple and can be done in just three easy steps:
Step 1: Prepare for the Change. Gather all the necessary supplies, such as a small screwdriver, tweezers, and the new band.
Step 2: Remove the Old Band. Use the screwdriver to loosen the screws at the back of the device. Then, use the tweezers to carefully pry off the old band.
Step 3: Install the New Band. Line up the holes of the new band with the pins of the device. Then, slowly press down on the band until it clicks into place. Finally, use the screwdriver to tighten the screws at the back of the device.

Troubleshooting Guide for Replacing Fitbit Bands
While the process of replacing a Fitbit band is generally quite simple, there may be times when you encounter some issues. The following are some common problems and their solutions:
- Problem: The new band won’t click into place.
Solution: Make sure the holes of the new band are lined up correctly with the pins on the device. If they aren’t, the band won’t click into place. - Problem: The screws won’t tighten.
Solution: Make sure the screws are tightened properly. If the screws are too tight, the band won’t be able to move freely. - Problem: The band won’t stay on.
Solution: Make sure the screws are tightened securely. If the screws are too loose, the band won’t stay on.
Tips and Tricks for Changing Fitbit Bands
Here are a few tips and tricks to help make the process of changing your Fitbit band easier and quicker:
- Choose the Right Band. When selecting a new band, make sure it’s compatible with your device. Different Fitbit models require different types of bands.
- Streamline the Process. To make the process quicker and easier, make sure you have all the necessary supplies before you start. This includes a small screwdriver, tweezers, and the new band.
- Follow Detailed Instructions. There are plenty of DIY tutorials available online that provide detailed instructions on how to change a Fitbit band. Following these instructions will help ensure the process goes smoothly.
Conclusion
Changing a Fitbit band is a relatively simple process that anyone can do in a few minutes. With the right tools and a few simple steps, you can quickly and easily swap out your band in no time.
By following this guide, you now know how to prepare for the change, remove the old band, and install the new one. You also know how to troubleshoot any common problems that may arise and tips and tricks for making the replacement quick and easy.
Now that you know how to change a Fitbit band, you can easily update your device whenever you want.
(Note: Is this article not meeting your expectations? Do you have knowledge or insights to share? Unlock new opportunities and expand your reach by joining our authors team. Click Registration to join us and share your expertise with our readers.)