Introduction
Keeping your car headlights properly aligned is essential for safe driving and visibility on the road. When headlights are out of alignment, they can cause dangerous glare and impair the vision of other drivers. Fortunately, it is possible to align your car headlights at home – all you need is a bit of patience and the right tools.
This article will provide a step-by-step guide on how to align car headlights at home. We will cover what to look for in your owner’s manual, how to position and mark a wall or garage door, how to adjust the beams, and how to use a spirit level to ensure that the headlights are even.
Check Owner’s Manual
The first step in the process is to check your car’s owner’s manual for instructions on how to align the headlights. Different vehicles may require different methods of adjustment, so it is important to make sure you are following the correct instructions.
In most cases, the owner’s manual will specify the distance from the ground at which the headlights should be set. It may also provide diagrams or pictures to help you visualize the ideal placement of the headlights.
It is very important to follow the instructions provided in the owner’s manual closely. If you do not adjust the headlights as recommended, you could end up causing more harm than good.
Park and Mark Wall
Once you have determined the correct height for your headlights, the next step is to park your car 25 feet away from a wall or garage door. The wall should be flat, smooth, and free of any obstructions.
Then, use tape to mark the height of the headlights on the wall. This will give you a reference point for adjusting the beams later on.
Adjust Beams
Turn on the headlights and then adjust them until the beams line up with the marks you made on the wall. If you have access to a light meter, this will help you to make sure that you are getting the right amount of light.
Make sure to keep an eye on the alignment as you adjust the beams. You want to make sure that the beams are straight and evenly spaced.
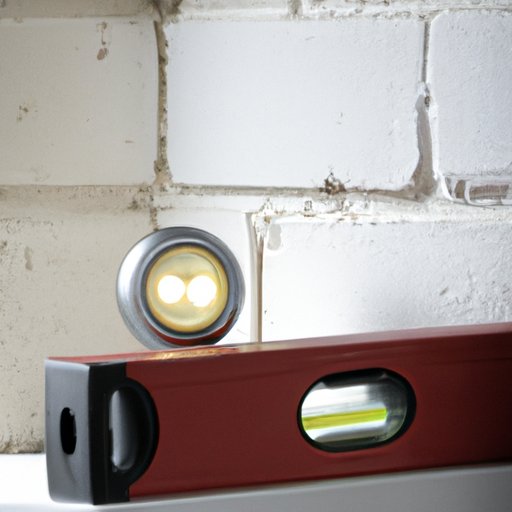
Use Spirit Level
Once you have adjusted the beams to the correct height, the next step is to use a spirit level to measure the distance between the headlights. This will help you to make sure that the lights are evenly spaced.
To use a spirit level, place it on top of the headlights and make sure that the bubble is centered. If the bubble is off-center, you will need to adjust the headlights until it is centered.
Test Alignment
Once you have finished adjusting the headlights, the next step is to test the alignment. To do this, find a dark area such as a parking lot or a deserted street. Turn on the headlights and make sure that they are pointing in the same direction.
If the beams are not pointing in the same direction, you will need to go back and adjust the headlights until they are properly aligned.
Conclusion
Aligning your car headlights at home can be a tricky process, but if done correctly it can save you time and money. By following the steps outlined above, you can ensure that your headlights are properly aligned and that you are driving safely.
Remember to always consult your owner’s manual for specific instructions on how to adjust the headlights, and to double-check the alignment before heading out on the road.
(Note: Is this article not meeting your expectations? Do you have knowledge or insights to share? Unlock new opportunities and expand your reach by joining our authors team. Click Registration to join us and share your expertise with our readers.)