Introduction
Creating a video with pictures and music is a great way to add a personal touch to any presentation. Whether you’re making a home movie, a slideshow for a business event, or a birthday greeting, combining photos and music can help you create a unique and memorable video. In this article, we’ll discuss how to make a video with pictures and music, from start to finish.

Gather Your Photos and Music
The first step in creating your video is to gather your photos and music. If you’re using digital images, you can upload them directly from your computer or smartphone. If you’re using physical photographs, you’ll need to scan them into your computer before you can use them. You should also choose a music track that fits the mood of your video. If you don’t have any music of your own, you can find royalty-free music online.
Download a Video Editing Software
Once you have your photos and music, you’ll need to download a video editing software program. There are both free and paid programs available, each with their own features and benefits. Some of the most popular free programs include Windows Movie Maker, iMovie, and Adobe Premiere Elements. Paid programs offer more advanced features, such as color correction, motion tracking, and 3D animation. Whichever program you choose, make sure it’s compatible with your operating system.

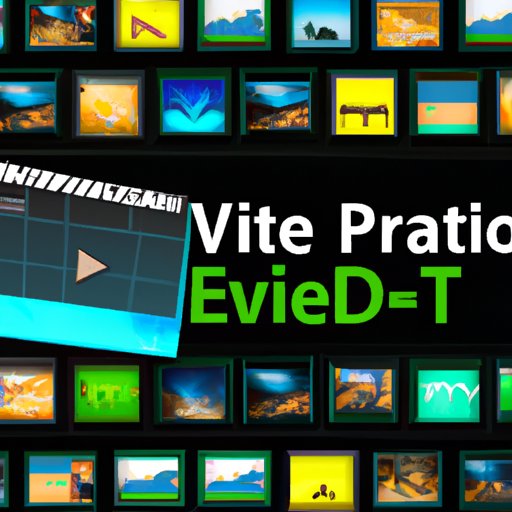
Import Your Photos and Music
Once you’ve chosen a video editing software program, you can begin importing your photos and music. To do this, simply drag and drop your files into the timeline. You can then adjust the duration of each photo and the timing of the music. This will help ensure that your video flows smoothly from one image to the next.
Add Effects
Now it’s time to add some special effects to your video. Most video editing programs offer a variety of different effects, including transitions, filters, text overlays, and more. Experiment with different effects to create a unique look for your video. Just be careful not to overdo it – too many effects can make your video look cluttered and unprofessional.
Export Your Video
When you’re happy with the way your video looks, it’s time to render and export it. Depending on the file size and format, this process may take a few minutes or several hours. Once your video is finished rendering, you’ll be able to save it in the desired format (e.g., MP4, AVI, etc.).
Share Your Video
Finally, you can share your video with friends and family. You can upload it to social media sites like Facebook and YouTube, or you can send it via email or text message. No matter how you choose to share your video, your friends and family will be sure to enjoy it!
Conclusion
Making a video with pictures and music is a fun and easy way to share memories with friends and family. By following the steps outlined in this article, you can quickly create a unique and personalized video. All you need is a selection of photos, a music track, and a video editing software program. With a little creativity and effort, you can create an unforgettable video that captures the essence of any moment.
(Note: Is this article not meeting your expectations? Do you have knowledge or insights to share? Unlock new opportunities and expand your reach by joining our authors team. Click Registration to join us and share your expertise with our readers.)