Introduction
Hand stitching is one of the oldest forms of sewing, and it is still used today by both professional and amateur sewers. Hand stitching involves using a needle and thread to create intricate designs, patterns, and garments that can be enjoyed for years to come. If you’re new to hand stitching, this article will help you get started with the basics. We’ll go over the different types of thread and needles, the techniques of hand sewing, and everything else you need to know to get started.
Choose the Right Thread and Needle for Your Project
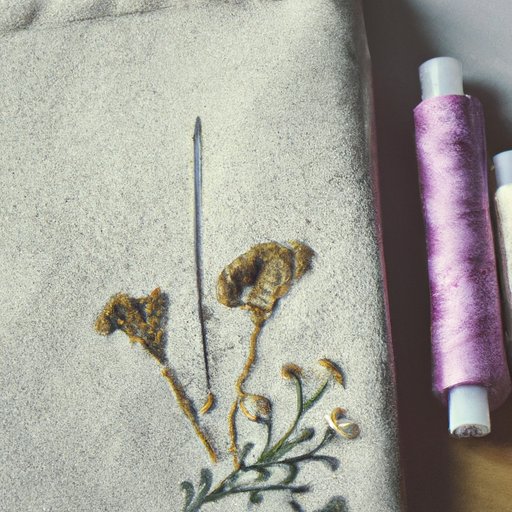
The first step in hand stitching is selecting the right type of thread and needle for your project. Different types of thread and needles are available, each with their own unique properties. The type of thread and needle you choose will depend on the type of project you are working on. For example, if you are making a quilt, a heavier thread and needle may be best, while for a delicate lace project, a finer thread and needle would be better.
When selecting a thread, consider factors such as color, weight, and fiber content. You’ll also want to make sure the thread is strong enough to withstand wear and tear. For needles, look for ones that are designed for hand stitching and have a large eye for easy threading. Additionally, the size of the needle should match the thickness of the thread you’re using.

Learn the Basics of Hand Sewing
Once you’ve selected the right type of thread and needle, it’s time to learn the basics of hand sewing. There are two main types of stitches used in hand sewing: running stitches and backstitches. Running stitches are the most basic form of hand stitching, and they are used to join two pieces of fabric together. Backstitches are slightly more complex and are used to reinforce seams and hems. Mastering these two types of stitches will give you a solid foundation for any hand stitching project.
In addition to learning the types of stitches, it’s important to understand the techniques of hand sewing. This includes the proper way to hold the needle and thread, the correct tension to use when stitching, and the best way to turn corners and curves. With practice and patience, you’ll soon be able to create beautiful hand stitched pieces.
Gather Supplies and Materials
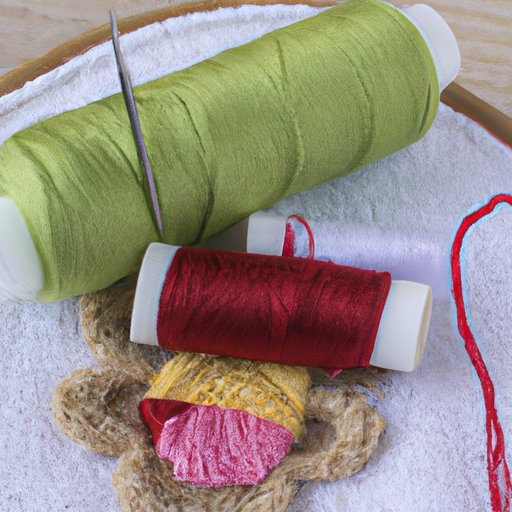
Once you’ve learned the basics of hand stitching, it’s time to gather the supplies and materials you’ll need for your project. The essential supplies and materials include thread, needles, fabric, scissors, thimbles, and pins. You can find these supplies at most craft stores or online. Depending on your project, you may also need additional items such as buttons, beads, or embroidery floss.
When selecting fabric for your project, it’s important to choose one that is appropriate for the type of project you’re working on. For instance, if you’re making a quilt, you’ll want to select a sturdy fabric such as cotton or wool. On the other hand, if you’re making a delicate lace piece, you’ll want to opt for a more lightweight material such as silk or linen.
Practice Making Stitches on a Piece of Fabric
Before you start your project, it’s important to practice making stitches on a scrap piece of fabric. This will help you get used to the feel of the needle and thread and gain familiarity with the different types of stitches. Experiment with different types of stitches and techniques until you’re comfortable with the process. Once you’re confident in your skills, you’ll be ready to start your project.
Prepare Your Work Area
The next step is to prepare your work area. This includes setting up a workspace that is well-lit and free from distractions. You’ll also want to make sure the fabric is laid out flat and free of wrinkles. This will help ensure that your stitches are even and consistent.
Once you’ve set up your workspace, it’s time to prepare the fabric for stitching. This includes cutting the fabric to the desired size and shape, marking any pattern pieces, and basting the fabric together. Basting is a technique where you use long stitches to temporarily secure the fabric before you start stitching.
Secure Your Thread
Now that your fabric is prepared and your workspace is ready, it’s time to secure your thread. This is done by knotting the thread at the end. To do this, start by threading the needle and tying a knot at the end. Then, insert the needle into the fabric and pull the thread through. Finally, tie another knot to secure the thread.
Start Sewing!
Once your thread is secured, you’re ready to start sewing! To ensure your stitches are even and consistent, it’s important to keep your hands in the proper position. This means keeping your thumb and index finger on the needle and your other fingers wrapped around the fabric. This grip will help you maintain control over the fabric and ensure your stitches are even.
As you’re stitching, keep an eye on the tension of the thread. Too much tension can distort the shape of the fabric, while too little tension can cause the stitches to become loose. You should also take your time when stitching and not rush the process. This will help you create a neat and professional-looking result.
Conclusion
Hand stitching is a rewarding skill that can be used to create beautiful garments and home decor items. While it may seem intimidating at first, with the right supplies and techniques, anyone can learn how to hand stitch. This article has provided a step-by-step guide on how to get started with hand stitching. From choosing the right thread and needle to mastering the basics of hand sewing, we’ve covered all the essential information you need to know. With practice and patience, you’ll soon be able to create beautiful hand stitched pieces that you’ll enjoy for years to come.
(Note: Is this article not meeting your expectations? Do you have knowledge or insights to share? Unlock new opportunities and expand your reach by joining our authors team. Click Registration to join us and share your expertise with our readers.)