Introduction
If you’re a Mac user, you’ve likely heard of Automator. But what exactly is Automator? And, more importantly, why should you use it? In this article, we’ll explore what Automator is and the benefits of incorporating it into your workflow. We’ll also look at how to set up and use Automator and provide some tips for streamlining tasks with the app.
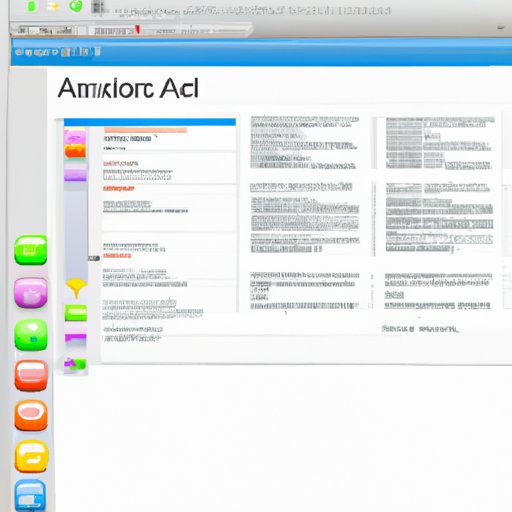
What is Automator?
Automator is an automation app built into MacOS that allows users to simplify repetitive tasks by creating automated workflows. According to Apple, “Automator enables you to create custom automated tasks using a drag-and-drop interface.”
Essentially, Automator provides a library of pre-built actions that can be used to create an automated workflow. This workflow can then be saved and run as needed without any manual intervention. Automator makes it easy to automate mundane and repetitive tasks, saving time and energy in the process.
Benefits of Using Automator
There are numerous benefits to using Automator, including the following:
- Save Time: Automator can save time by automating tedious and time-consuming tasks.
- Reduce Errors: Automator can reduce errors by eliminating potential human error from manual processes.
- Ease of Use: Automator has a simple drag-and-drop interface that makes it easy to create automated workflows.
- Flexibility: Automator is highly flexible and can be used to automate virtually any task.
These benefits make Automator a powerful tool for Mac users who want to streamline their workflow and save time and energy.
How to Use Automator
Using Automator is relatively straightforward. Here’s a step-by-step guide to getting started with Automator:
Setting Up Automator
The first step is to open Automator on your Mac. To do this, click on the Finder icon in the Dock, then select Applications > Automator. The Automator window will open. From here, you can create a new workflow or open an existing one.
Creating a New Workflow
Once the Automator window is open, you can create a new workflow by selecting File > New. You will then be prompted to choose a type of workflow. There are several different types of workflows to choose from, including Application, Service, Folder Action, and Calendar Alarm.
Once you’ve selected the type of workflow you’d like to create, you can begin building the workflow. To do this, you can add actions from the library of available actions to the workflow. These actions can be dragged and dropped into the workflow in the order in which they should be performed.
Exploring the Library of Actions
The library of actions is where all the available actions are stored. These actions are organized into categories such as Files & Folders, Images & Photos, Text, and Web. By exploring these categories, you can find the actions you need to create your workflow.
Once you’ve added the necessary actions to your workflow, you can configure them by setting variables and parameters. This allows you to customize the workflow to suit your needs.
Building Automated Workflows
Now that you know how to set up Automator, let’s take a look at how to build automated workflows. Building an automated workflow involves several steps, including defining variables and parameters, utilizing loops and conditionals, and using the drag-and-drop interface.
Defining Variables and Parameters
When creating an automated workflow, it’s important to define variables and parameters. A variable is a placeholder for a value that can change, such as the name of a file or folder. A parameter is a constant value that does not change, such as the size of a file.
By defining variables and parameters, you can customize the workflow to meet your specific needs. For example, if you’re creating a workflow to rename files, you can define a variable for the old filename and a parameter for the new filename.
Utilizing Loops and Conditionals
Another way to customize an automated workflow is to utilize loops and conditionals. A loop is a sequence of actions that are repeated until a certain condition is met. A conditional is a statement that specifies when a certain action should be performed.
For example, if you’re creating a workflow to copy files from one folder to another, you could use a loop to repeat the copying action until all the files have been copied. You could also use a conditional to specify that the copying action should only be performed if the file is larger than a certain size.
Using Drag-and-Drop Interface
The final step in creating an automated workflow is to use the drag-and-drop interface to connect the various actions. This allows you to easily create complex workflows without having to write any code. Once the workflow is complete, you can save it and run it whenever you need to.
Tips on Streamlining Tasks with Automator
Now that you know how to use Automator, here are some tips for streamlining tasks with the app:
Identifying and Refining Processes
Before you start creating a workflow, it’s important to identify and refine the process you’re trying to automate. This will help ensure that the workflow is efficient and effective. Take some time to think about each step in the process and consider ways to streamline it. This will help you create a more efficient workflow.
Taking Advantage of Built-in Features
Automator comes with several built-in features that can help you streamline tasks. For example, you can use the “Record” feature to record your mouse movements and keystrokes, which can then be used to create an automated workflow. You can also use the “Watch Me Do” feature to quickly create a workflow based on your actions.
Reusing Existing Scripts
Finally, you can save time by reusing existing scripts. Many scripts are available online that can be used to automate common tasks. By reusing existing scripts, you can quickly create an automated workflow without having to start from scratch.
Conclusion
Automator is a powerful tool for Mac users who want to streamline their workflow and save time and energy. The app provides a library of pre-built actions that can be used to create automated workflows. Automator also has a drag-and-drop interface that makes it easy to create complex workflows without having to write any code. Finally, there are several tips for streamlining tasks with Automator, such as identifying and refining processes, taking advantage of built-in features, and reusing existing scripts.
By incorporating Automator into your workflow, you can save time, reduce errors, and streamline mundane and repetitive tasks. So, if you’re looking for a way to automate your workflow, give Automator a try.
(Note: Is this article not meeting your expectations? Do you have knowledge or insights to share? Unlock new opportunities and expand your reach by joining our authors team. Click Registration to join us and share your expertise with our readers.)