
Introduction
A starter motor is an electric motor that is used to start an internal combustion engine. It works by providing a high amount of torque to turn the crankshaft, which then starts the engine. Replacing a starter motor can be a difficult job, but with the right tools and knowledge it can be done in a few hours. This guide will provide a step-by-step process for replacing a starter motor.

Identify the Type of Starter and Gather Necessary Tools
The first step in replacing a starter motor is to identify the type of starter and gather the necessary tools. The make and model of the vehicle should be determined so that the correct starter motor can be purchased. Once the correct starter motor is purchased, the necessary tools should be gathered. These include a socket set, ratchet, screwdriver, and any other specialty tools required for the job.
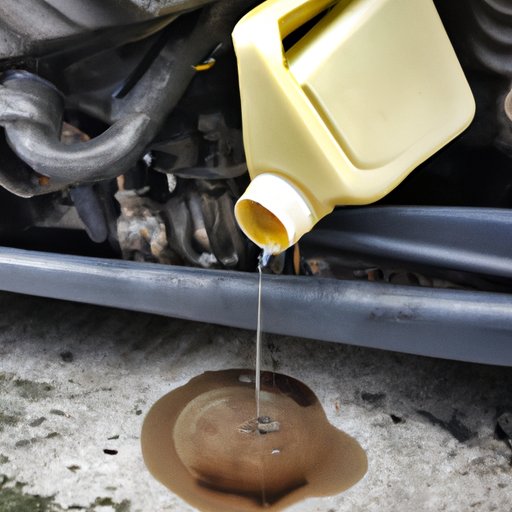
Drain Oil from the Engine
Once the necessary tools are gathered, the next step is to drain the oil from the engine. This can be done by locating the oil drain plug and removing it. Once the oil has been drained into an appropriate container, the drain plug can be reinstalled.
Detach Existing Starter Motor
The next step is to detach the existing starter motor. This involves disconnecting the negative battery cable, removing any mounting bolts or brackets, and unplugging the wiring harness from the starter motor. Once these steps are completed, the old starter motor can be removed.
Install New Starter Motor
Once the old starter motor has been removed, the new starter motor can be installed. This involves aligning the starter motor with the mounting holes and securing it with the mounting bolts. After the starter motor is secure, the wiring harness can be reattached.
Reconnect Wiring Harnesses
The next step is to reconnect the wiring harnesses. This involves connecting the negative battery cable and ensuring that all other wiring connections are secure. Once this is done, the starter motor is ready for testing.
Refill Oil in the Engine
Before testing the starter motor, the oil in the engine should be refilled. This can be done by locating the oil fill plug and adding the appropriate amount of oil. Once the oil has been added, the oil fill plug can be replaced.
Test New Starter Motor
The final step is to test the new starter motor. This can be done by starting the vehicle and listening for the starter motor engagement. Additionally, it is recommended to check all electrical connections to ensure that they are secure.
Conclusion
Replacing a starter motor is not a difficult task, but it does require some knowledge and the right tools. By following the steps outlined in this guide, anyone can replace their starter motor in a few hours. With proper care and maintenance, the new starter motor should provide reliable service for many years to come.
(Note: Is this article not meeting your expectations? Do you have knowledge or insights to share? Unlock new opportunities and expand your reach by joining our authors team. Click Registration to join us and share your expertise with our readers.)