Introduction
Sourdough is a type of bread made from naturally occurring lactobacilli and yeast. It’s been enjoyed for thousands of years, and it has a unique flavor that many people love. The key to making great sourdough is having a good starter. A sourdough starter is a mixture of flour, water, and wild yeasts and bacteria. This combination creates a culture that can be used to leaven bread and give it its signature sour flavor.
Creating your own sourdough starter at home is an enjoyable and rewarding experience. Not only will you get to enjoy the delicious taste of homemade sourdough, but you’ll also get to understand the science behind the process. Making your own starter requires patience and practice, but with the right steps and guidance, you can make a flavorful and nutritious starter in no time.
Step-by-Step Guide to Making Your Own Sourdough Starter
Making your own sourdough starter is relatively easy, but there are some important steps that need to be followed. Here’s a quick overview of the process:
- Gather the necessary ingredients
- Prepare the starter mixture
- Incubate and feed the starter
- Store the starter properly
Gathering Ingredients
The first step in making your own sourdough starter is gathering the necessary ingredients. You’ll need flour, water, and salt. You can use any type of flour, but whole wheat or rye flours work best. You’ll also need a container, such as a jar or bowl, to mix and store the starter. Make sure the container is clean and dry before you start.
Preparing the Starter Mixture
Once you have the ingredients, you’ll need to mix them together. Start by adding four ounces (1/2 cup) of flour and four ounces (1/2 cup) of lukewarm water to the container. Stir the mixture until it forms a thick paste. Then, add one teaspoon of salt and stir until it’s completely dissolved. Cover the container with a lid or plastic wrap and let it sit at room temperature for 24 hours.
Incubating and Feeding the Starter
Now it’s time to “incubate” the starter. This means giving it time to develop the wild yeasts and bacteria that will help it rise. To do this, you’ll need to “feed” the starter every day. To feed the starter, simply add four ounces (1/2 cup) of flour and four ounces (1/2 cup) of lukewarm water to the starter and stir until it’s well combined. Cover the container and let it sit at room temperature for 24 hours before repeating the process.
Storing the Starter
Once the starter has been fed for several days, it’s ready to use. At this point, you can store the starter in the refrigerator for up to two weeks. To do this, transfer the starter to a clean container, cover it tightly, and store it in the refrigerator. Before using the starter, take it out of the refrigerator and let it come to room temperature. Then, “feed” it again with four ounces (1/2 cup) of flour and four ounces (1/2 cup) of lukewarm water. Let the starter sit at room temperature for 24 hours before using it.

Tips for Successful Sourdough Starter Creation
Creating a successful sourdough starter requires a bit of finesse. Here are a few tips to keep in mind:
Temperature Control
Temperature is an important factor when it comes to creating a successful sourdough starter. The ideal temperature range is between 70-80°F (21-27°C). If the temperature is too low, the starter won’t be able to develop the necessary yeasts and bacteria. If the temperature is too high, the starter could overheat and die.
Proper Hydration
It’s important to use the right amount of water when creating the starter. Too much water can make the starter too thin, while too little water can make it too thick. Aim for a consistency that’s similar to pancake batter.
Using Quality Ingredients
You should always use quality ingredients when making sourdough starter. Use unbleached, organic flour if possible, and opt for filtered or distilled water. These ingredients will help ensure that your starter is healthy and flavorful.
The Basics of Sourdough Starter: What You Need to Know
Before you begin making your own starter, it’s important to understand the basics. Here’s what you need to know about the science behind sourdough starter:
Understanding Yeast and Bacteria
Yeast and bacteria are essential for the fermentation process that gives sourdough its unique flavor. Wild yeasts and bacteria are naturally present in flour and water, so when these ingredients are mixed together, they create a culture that can be used to leaven bread. As the starter ferments, the wild yeasts and bacteria produce carbon dioxide, which helps the dough rise.
Fermentation Process
The fermentation process is a key part of creating a successful sourdough starter. During this process, the wild yeasts and bacteria consume the sugars in the flour and convert them into carbon dioxide and alcohol. This is what gives the bread its distinctive flavor and texture.
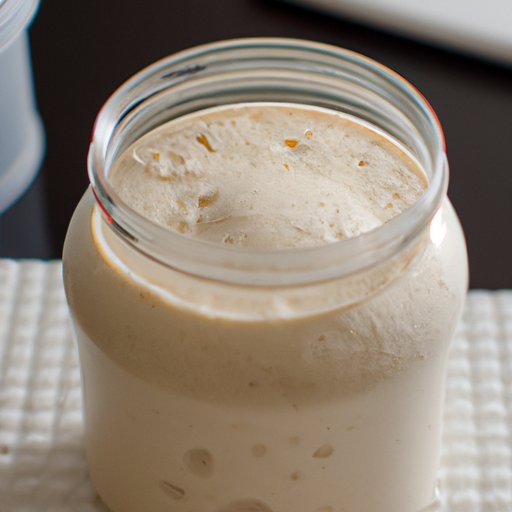
Identifying Signs of Healthy Starter
When the starter is healthy, it will have a pleasant, slightly sour smell and a bubbly texture. It will also double in size after being fed. If the starter has an off odor or isn’t doubling in size, it’s likely not healthy and should be discarded.
A Beginner’s Guide to Making Sourdough Starter
If you’re just starting out with sourdough starter, here are some tips to keep in mind:
Equipment and Supplies
You don’t need a lot of equipment or supplies to make sourdough starter. All you need is a clean container, flour, water, and salt. A kitchen scale can also be helpful for measuring the ingredients accurately.
Preparation Tips
Make sure the container is clean and dry before you start. The starter should also be kept at room temperature throughout the process. It’s also important to use filtered or distilled water to avoid any impurities.
Troubleshooting Common Problems
If your starter isn’t rising or has an off odor, it likely needs to be re-started. Discard the starter and start the process again, making sure to follow the steps carefully.

The Art of Crafting a Perfect Sourdough Starter
Once you’ve mastered the basics of making sourdough starter, you can start to refine your technique. Here are some tips for creating the perfect starter:
Finding the Right Balance of Ingredients
The ratio of flour to water is important for making a successful starter. Too much flour can make the starter too thick, while too much water can make it too thin. Aim for a consistency that’s similar to pancake batter.
Perfecting the Mixing and Incubating Process
As you become more experienced with making sourdough starter, you can experiment with the mixing and incubating process. Try different types of flours and different temperatures to find the perfect balance.
Developing a Consistent Method
Consistency is key when it comes to creating a successful starter. Once you find a method that works, stick with it. This will help ensure that your starter is healthy and flavorful every time.

Troubleshooting Common Problems with Sourdough Starter
Even experienced bakers can run into problems with their starter. Here are some tips for troubleshooting common issues:
Diagnosing Common Issues
If your starter isn’t rising or has an off odor, it likely needs to be re-started. Take note of any changes in temperature or hydration levels, as this could be the cause of the problem.
Strategies for Fixing Problems
If the starter isn’t rising, try increasing the temperature or hydration level. If the starter has an off odor, discard it and start again with fresh ingredients.
Re-Starting the Process
If all else fails, discard the starter and start again. Make sure to follow the steps carefully and use quality ingredients to ensure a successful starter.
Conclusion
Making your own sourdough starter can be a fun and rewarding experience. With the right steps and guidance, you can create a delicious and nutritious starter in no time. Remember to use quality ingredients, pay attention to temperature and hydration levels, and be patient.
(Note: Is this article not meeting your expectations? Do you have knowledge or insights to share? Unlock new opportunities and expand your reach by joining our authors team. Click Registration to join us and share your expertise with our readers.)